Author: admin

  • Who Will You Grow For?

    Who Will You Grow For?

    Growing vegetables is only one part of farming. Making sure they reach the people who need them is just as important. Kai Thota farms focus on seasonal, chemical-free vegetables for local communities.  That’s why it’s helpful to think early about who will buy your vegetables and how you will get them to your buyers, even before your first planting.

    01. What Are Some Ways to Sell Your
    Produce?

    There are two main ways Kai Thota collectives sell their produce:

    1. CSA customers (Community Supported Agriculture): Local families, well-wishers, or urban supporters pay a fixed monthly amount and receive a weekly basket of vegetables. They support the farm throughout the season and share both the risk and the reward.
    2. Sante (Village Markets): Produce can also be sold directly in weekly local markets. This keeps the connection to traditional selling methods alive. 

    02. How Does Community Supported
    Agriculture (CSA) Work? 

    In the CSA model, local families or individuals pay a fixed amount every month. In return, they receive a weekly bag of mixed vegetables grown by the collective, based on season and availability.

    Community Supported Agriculture:
    Fresh local produce from farms to families
    • Customers share the risk, meaning that even if the harvest is low due to weather or pests, they still pay.
    • Farmers grow seasonal produce based on what the land supports and not what the market demands.
    • There is trust between the customer and the farmer.
    • Shared values of healthy soils, fair price and co-operation. If your consumers also believe in the same values, it makes selling produce easier.
    • Home Delivery – Convenient for customers, but you will need to plan the transport.
    • Pickup Points – Vegetables are dropped at a common location (e.g. school, anganwadi, bus stop) and collected by customers. This is simple and saves effort for you, but it might be inconvenient for some customers

    Not every customer can collect vegetables every single week. To make the CSA system work for everyone, Kai Thota collectives could offer simple options that ensure customers’ interests and the farmer’s income. For example: 

    • One-month pause: Each customer can skip one month per year without losing their spot on the farm.
    • 12-month plan: Total cost is divided equally across 12 months, even if one month has no delivery. This keeps income steady and planning easy.
    • Transferable bags (by group agreement): If a customer skips a week, they can gift their bag to a friend or neighbour. This keeps the produce in use and the connection active.

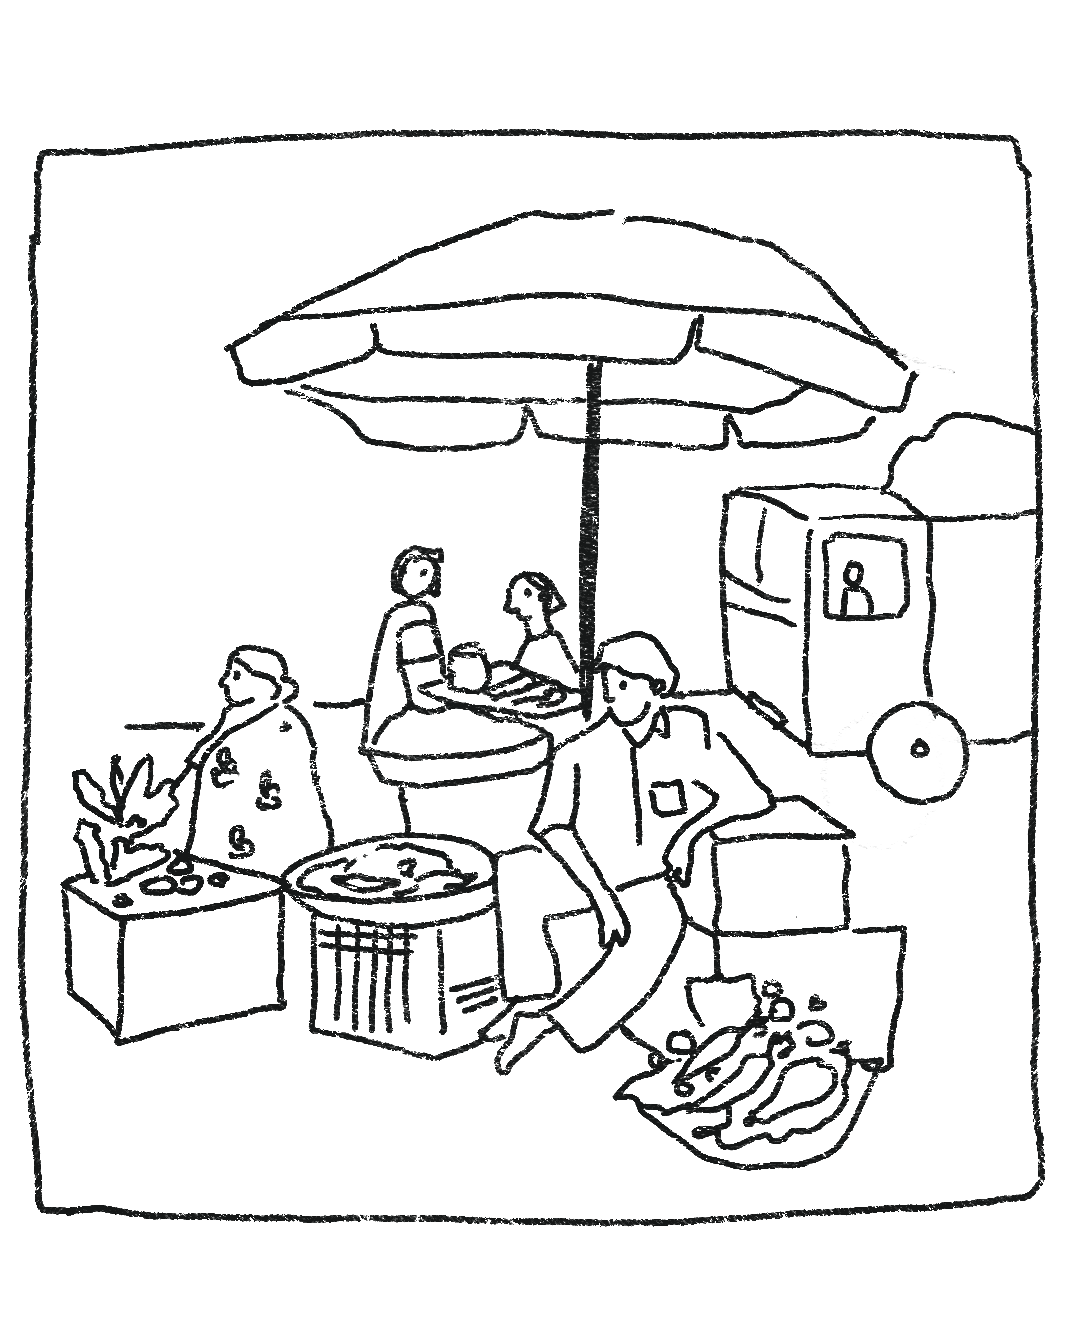
    03. How Does Selling at the Santhe
    (Village Market) Help?

    Groups could also sell in the local weekly santhe. The prices may be fixed by the group based on the efforts and not necessarily based on the market prices. Unlike CSA, there is no risk-sharing, and the buyer pays for what they take. Good communication should be in place to ensure the customers understand the pricing and appreciate the transparency.

    Weekly Santhe

    04. How to Find Your First Customers? 

    Start by looking within your own network. You don’t need a long list; you could just begin with 8–10 committed people.

    • If comfortable, use social media and local media to help you reach local buyers
    • Ask friends, relatives, or neighbours in your village or nearby towns
    • Reach out to SHG members in your area who may want weekly vegetables
    • Speak to school teachers, Anganwadi staff, nurses, or local mess kitchens
    • Post in community WhatsApp groups with photos and updates from the farm
    • Connect with a local NGO or FPO that may help link you to urban buyers
    💡 Tip
    Make sure your price includes labour, transport, and input costs.

    More importantly, focus on building trust and long-term relationships. Your first customers (though a small group) are also your first supporters, who could promote your farm by telling others to become customers.

    Resources

    📹 Community Supported Agriculture

  • How Do You Start Strong: Nurseries and Soil Beds?

    How Do You Start Strong: Nurseries and Soil Beds?

    Good crops begin with good planning. Whether in a nursery or in soil beds, giving plants the right start makes all the difference. Nurseries protect seedlings, giving them water, shade, and space to grow strong. Soil beds—raised or pit beds—help plants’ roots get air, water, and nutrients while making it easier for you to care for them. Simple, small steps at this stage save time, protect your crops, and set the foundation for a healthy, productive farm.

    01. How Can You Set up Nurseries? 

    Nurseries are small covered areas where seeds are planted and taken care of when they first start growing. Once the baby plants (seedlings) have grown a little and are strong enough, they are moved to raised beds. Taking good care of the seedlings in the nursery helps them grow better and stay healthy after they are moved, which means better crops for you in the end.

    To set up your nursery, keep these things in mind:

    1. Soil Mix
      In most nurseries, the soil is made by mixing compost, regular soil, and cocopeat. This is a healthy mix that gives the young plants the food and air they need to grow strong and healthy.
    2. Trays:
      Farmers usually use 98 or 120-hole trays. These trays make it easy to grow and take care of many seedlings at once. This is especially useful for vegetables.
    3. Shading Structures
      To protect seedlings from strong sun, heavy rain, and dry air, it’s important to create a shaded, moist, and safe space for them to grow. Here are a few simple ideas:
      • You can use the shade of your larger plants like papaya and brinjal, to provide natural shade for your saplings. This is a cheap and natural way to keep nursery beds safe from direct sun and rain. It also helps keep the air around the plants cool and a bit more humid.
      • You can also construct shelters using bamboo, jowar stalks, creepers or coconut leaves. 
      • For a more secure structure, farmers use shade nets to cover their nurseries. These nets come in green, black, or white and help manage sunlight, heat, and moisture. These nets control sunlight, heat, and keep in moisture, which helps seedlings grow well. They are usually tied over light frames and are useful for large nurseries or places with very hot or changing weather.
      • Lastly, watering for these seedlings is done very carefully and gently using cans or buckets to make sure the water does not destroy the seedlings and their new roots.

    02. How to Prepare Beds? 

    A soil bed is a small raised or dug-out area where vegetables or crops are grown. Making beds is an important step in preparing your land. Soil beds- 

    • gives plant roots enough space, air, and water.
    • makes it easier to water, weed, and compost.
    • helps the soil stay healthy and crops grow better.

    📹 Learn about Soil Bed Systems through this video 

    There are different types of soil beds depending on the crop and the available space, water, and compost.

    Raised beds are the most common type of bed used in vegetable farming.

    How it is made: In this system-

    • The soil is dug in a V shape, and the soil from the sides is pulled in to make a raised ridge or mound in the center. 
    • The raised part is about 1 foot high.

    Raised beds improve the soil’s health. They help air go into the roots, allow extra water to drain, and support the growth of good microbes in the soil. Raised beds are also easier to work on – farmers don’t have to bend too much for weeding or watering. Compost can be added directly to the beds, and drip pipes can be used on them to give water slowly and directly to each plant.

    Bed depth depends on the crop:

    • 🌿 For leafy greens like amaranth or spinach: beds should be about 5 to 6 inches deep. These crops do not have deep roots.
    • 🥕 For root vegetables like carrot or radish: beds should be about 18 inches deep. These crops need soft, deep soil so their roots can grow downwards. 

    Size and Spacing: 

    • Raised beds should be about 2.5 to 3 feet wide, so farmers can reach from both sides without stepping on them.
    • Between each bed, leave a 1 to 1.5-foot path to walk and water the plants easily.
    • Never step on the raised beds, as this will press the soil and damage plant roots.
    Raised beds bordered with tiles, drip pipes laid across, and walking paths in between.

    The pit or box bed system is mostly used for nurseries or in places where there are fewer resources like water, compost, or land.

    • Small square or rectangular pits are dug directly into the soil.
    • These pits are filled with a mixture of good compost and topsoil

    This method is very helpful for starting delicate or small plants (seedlings), which cannot be sown directly into the field. These include crops like chilli, tomato or brinjal. Usually young plants need extra care and the right temperature to grow. The pit beds help keep the right amount of water and temperature in the soil.

    Size and Spacing: 

    • Pit beds are usually 1.5 to 2 feet wide
    • And can be dug 1 to 1.5 feet deep (approximately 12 to 18 inches)
    • Ensure there is space left between each for watering and moving. 
    • Keep these beds close to your house or water source so that they are easy to take care of every day.
    • These beds can be kept in partially shaded areas, such as under papaya or brinjal trees, or by building a simple shade using poles and dried creepers or cloth.
    Pit bed system under nursery mesh shade, used for growing greens

    Before making soil beds, look at your farm and think about these things:

    • What crops are you planning to grow?
    • How much space does each crop need?
    • Where is the water source? Keep beds nearby for easy watering.
    • How much sunlight or shade is there? Some crops need full sun; some need partial shade.

    Plan your land in a way that each plant gets what it needs it terms of space and nourishment 

    Here is a simple guide for spacing:

    Crop TypeBed TypeBed WidthSpace Between Beds
    Leafy vegetablesRaised Bed2.5–3 feet1 foot
    Root vegetablesRaised Bed2.5–3 feet1.5 feet
    Nursery seedlingsPit/Box Bed1.5–2 feetEnough for watering and walking

    💡 Tip

    Do not walk on the beds – it makes the soil hard and the roots cannot breathe.

    Make sure beds are level at the top, especially if you are using drip irrigation. This helps water spread evenly.

    If your land is sloping, make beds across the slope (not downwards) to stop water and soil from washing away.

    Name or Number the beds so it is easy to locate and document. Eg: E1 

    Resources:

    📹 Soil Bed Systems