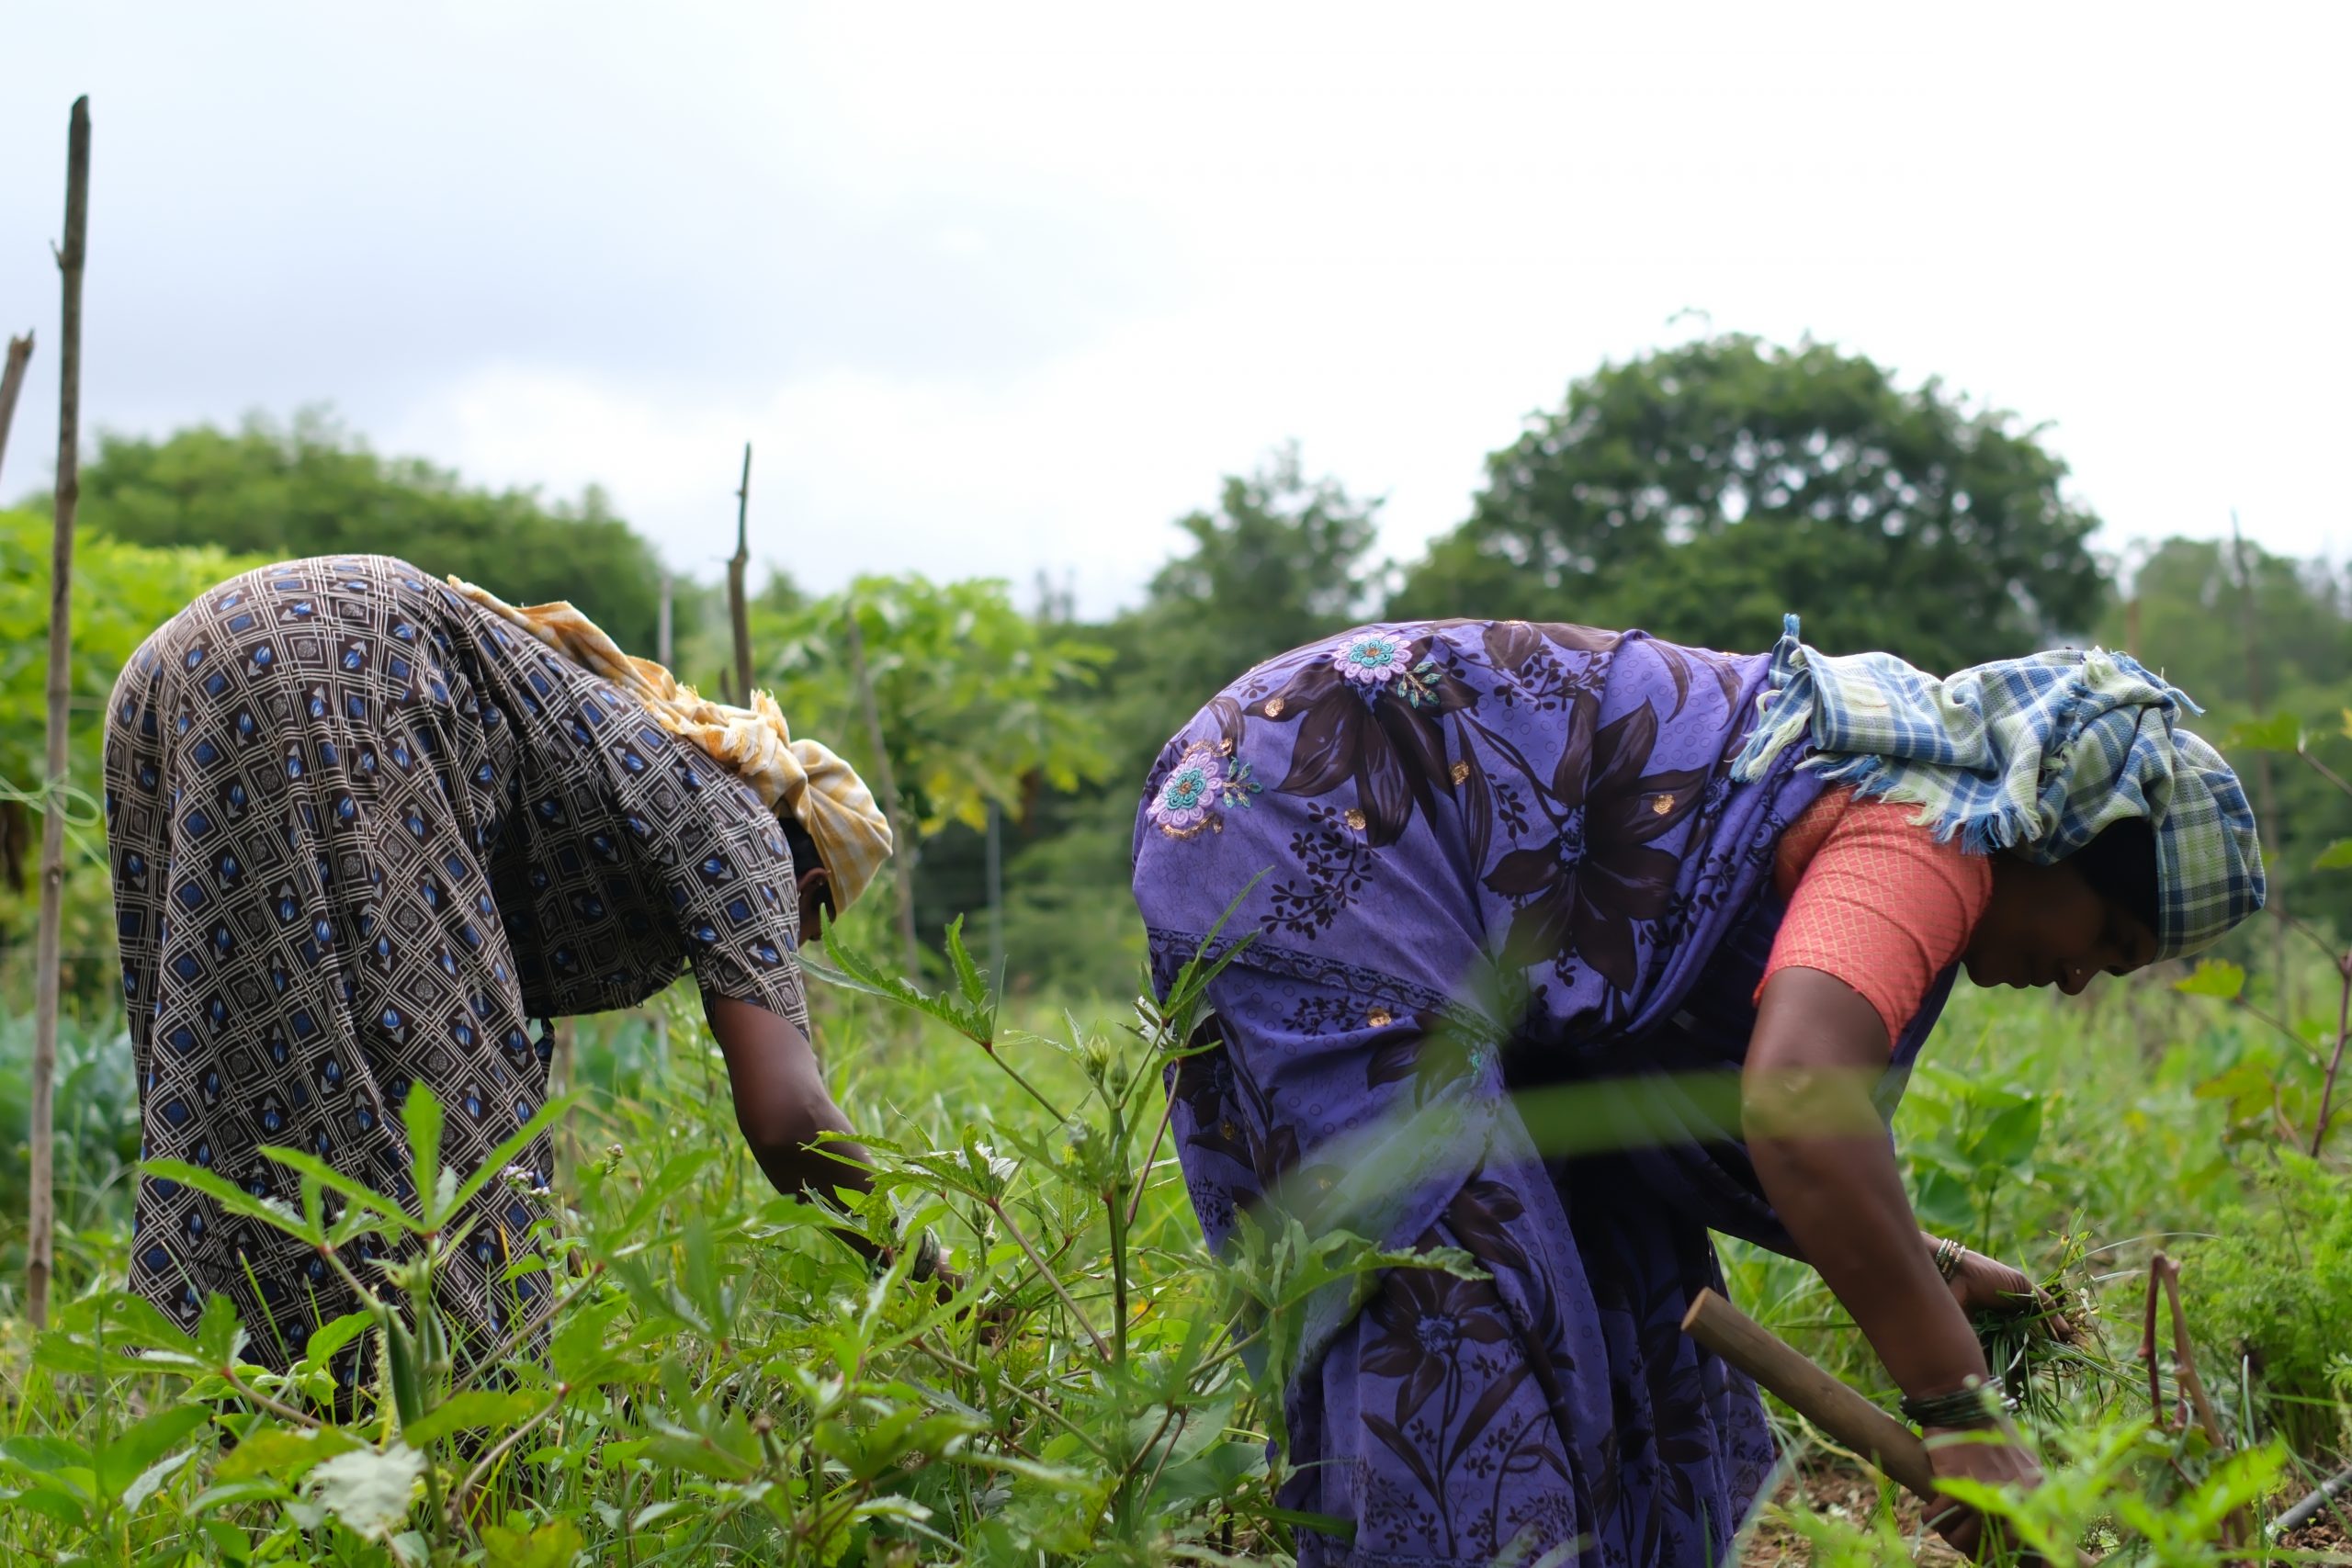
In the Kai Thota model, farming is a year-round effort — there’s no pause after the harvest. As soon as one crop is gathered, the group is already preparing for the next: enriching the soil, selecting the next set of crops, and planning the next cycle.
This approach requires continuous and flexible planning. It’s not just about choosing what to grow, but also about working together to make smart decisions at every stage —land preparation, planting, pest protection, harvesting, and getting ready for the next round.
Every step requires care and coordination. Success comes from thinking ahead, staying adaptable, and caring for the land throughout the year.
01. What Should You Think About While
Planning?
Here are some key things we think about while planning:
- 💰 What crops are in demand in the market?
- 🧑🌾 Who will do what work in the group?
- 🌱 Which crop should grow where, when, and how?
- 🌞 Which season is best for which crop?
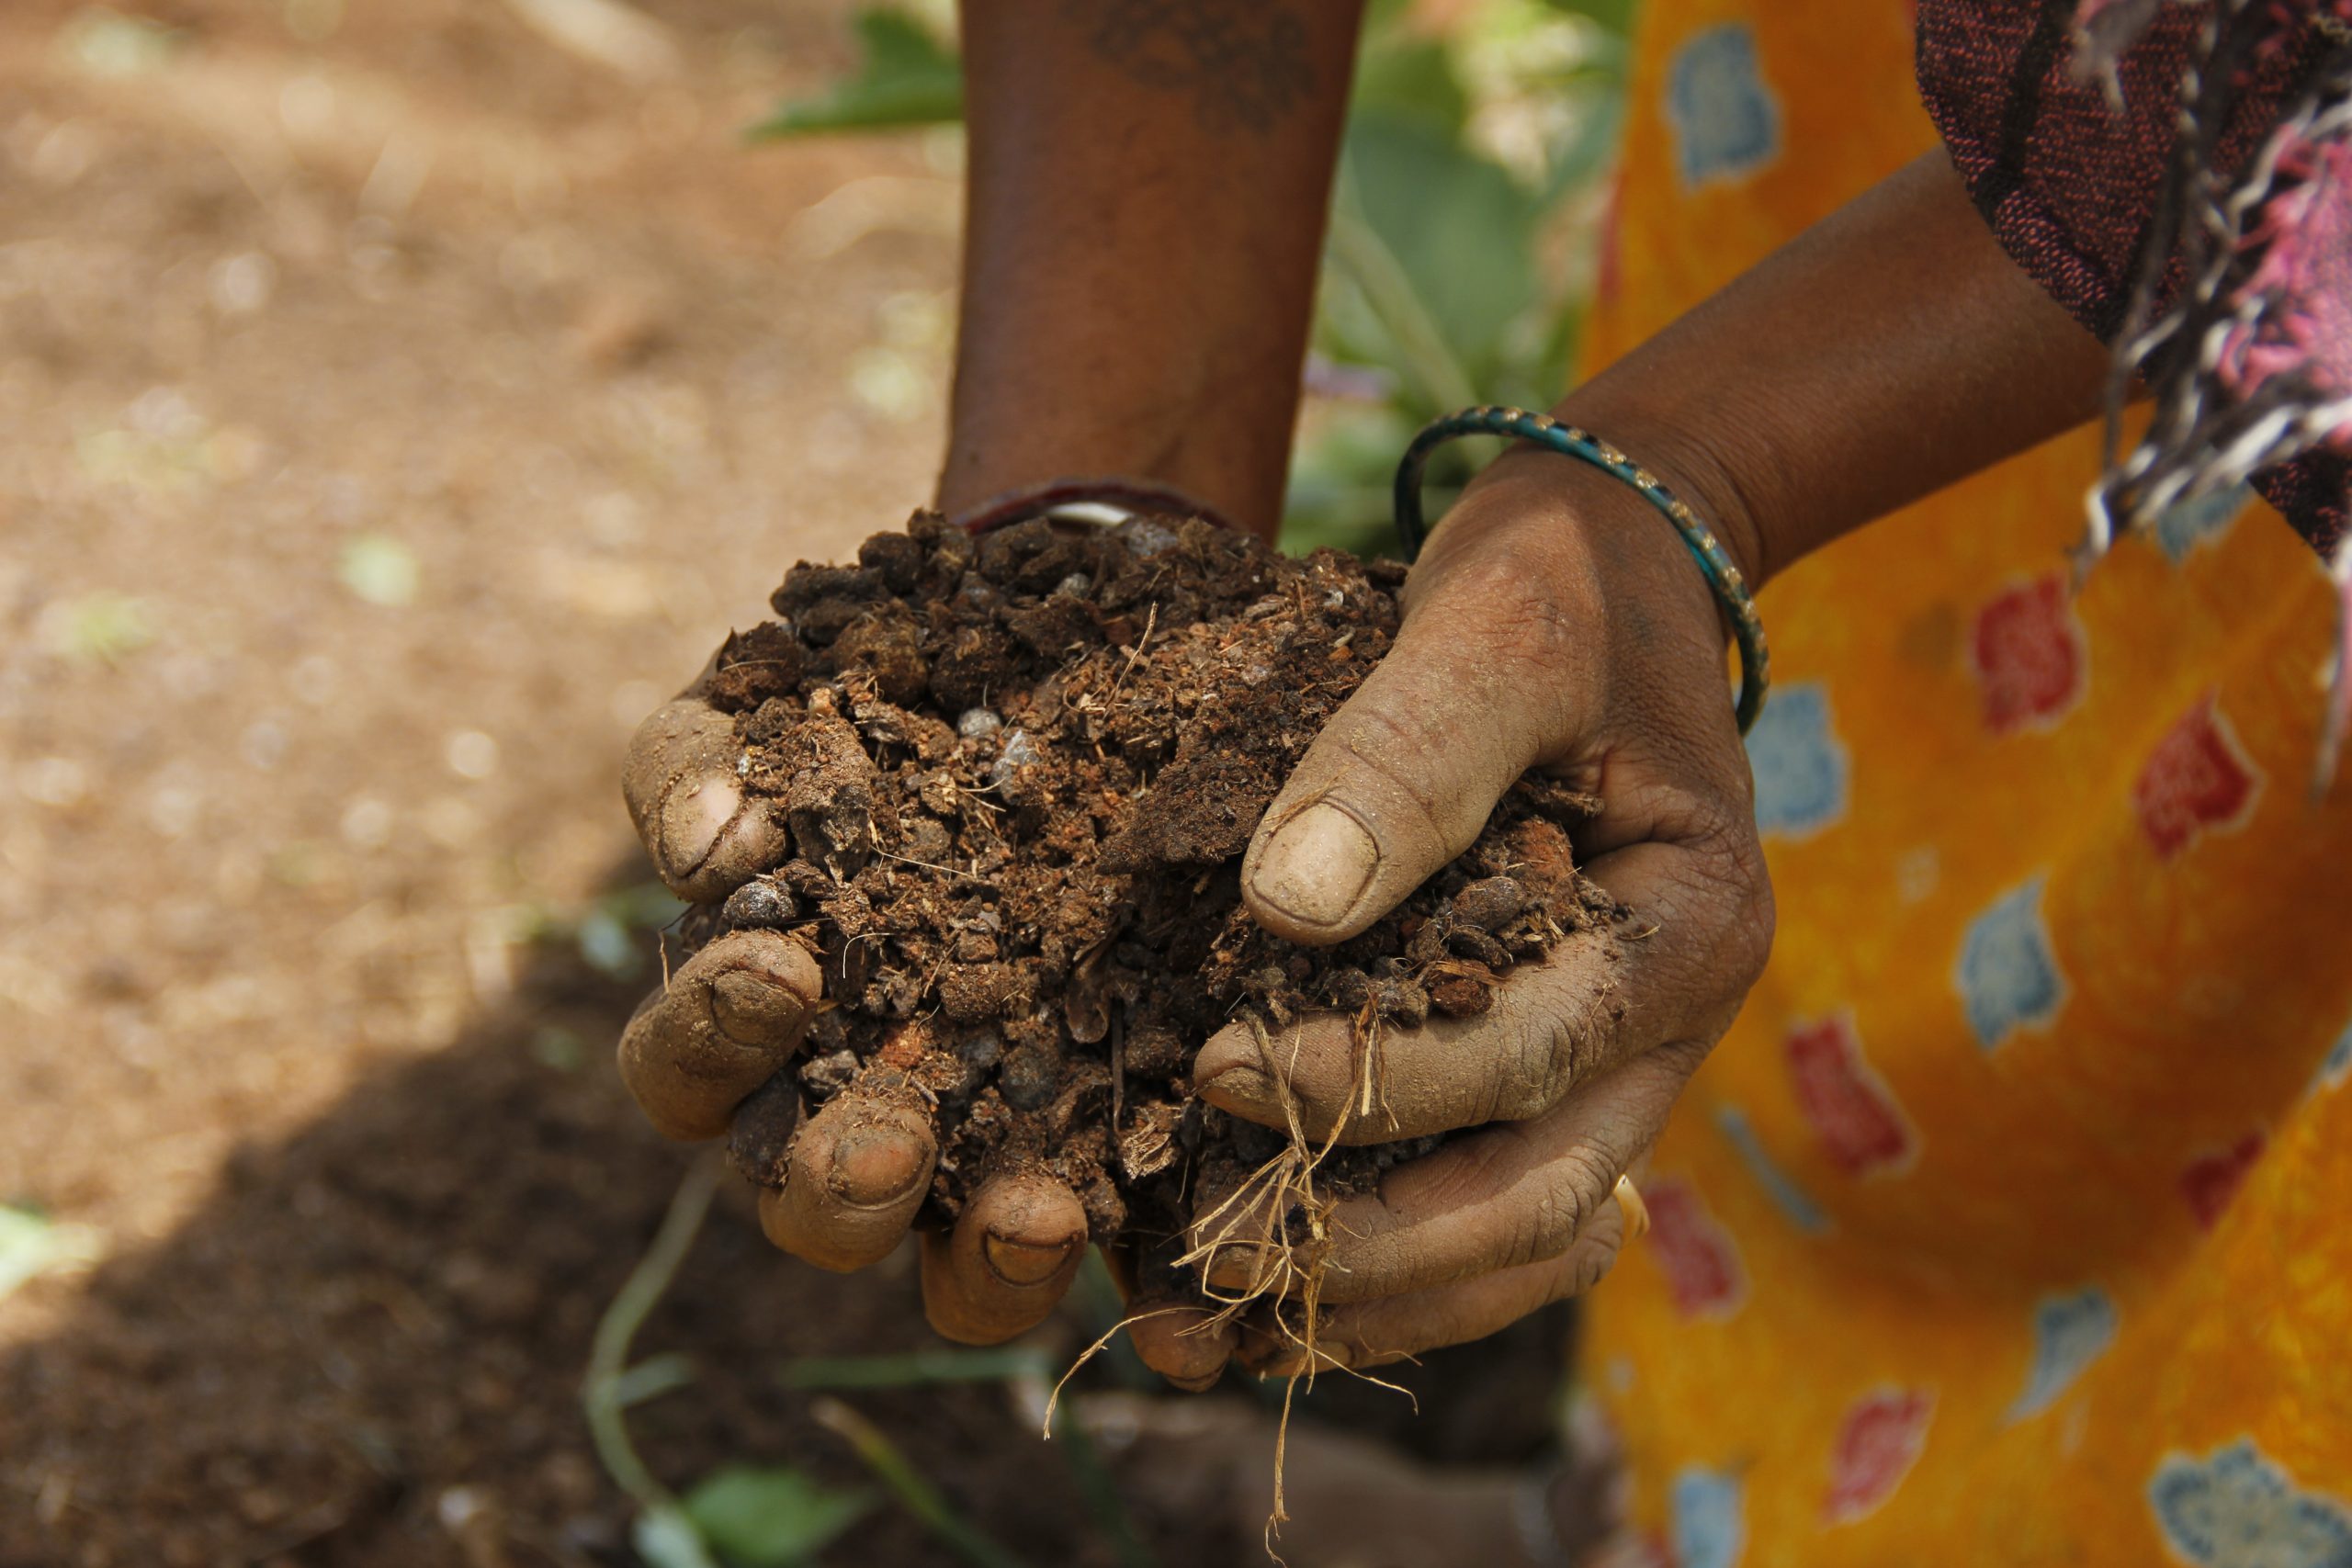
- 🌿 Is the soil healthy and ready?
- 🐛 What pests or diseases might affect this crop?
- 🔁 And how to prepare the farm for the next cycle? (sustaining the farm)
By keeping these points in mind, the group can stay ready for challenges and make sure crops grow well, land stays fertile, and income is shared fairly.
How Do We Share Work Fairly?
Before starting any work on the farm, it’s important to sit down as a group and plan who will do what. This helps avoid confusion, saves time, and makes sure everyone is working together smoothly.
When assigning roles, think about:
- What needs to be done first and what is most urgent
- Who is available, and at what times
- What each person is good at or comfortable doing
Farming has many small and big tasks. Here are some roles you can assign based on the type of work:
- 🌱 Sowing – preparing the land, planting seeds carefully, watering early crops
- 🪴 Nursery care – looking after seedlings, checking moisture, protecting young plants
- 🧪 Input preparation – getting fertilisers, pesticides or natural mixtures ready
- 🧹 Farm maintenance – regular weeding, cleaning farm paths, fixing fencing, irrigation pipes or bunds
- 🌾 Harvesting – collecting crops at the right time, sorting good and damaged produce
- 🧾 Record keeping – noting sowing dates, germination logs, inputs used, rainfall, harvest quantity
- 🛻 Distribution and delivery – packing the harvest, organising transport.
You can also think about planning and assigning seasonal and cycle-based roles. For example, some groups also plan roles using local calendars, festivals, or moon cycles, so tasks align with nature’s rhythms.
| 💡 Tip |
| Make a simple task chart for your team Divide tasks into: 🔁 Regular tasks – daily or weekly tasks: like watering, weeding, record-keeping ⭐ Special tasks – once in a while tasks: like preparing new beds Put the chart in a place where everyone can see it – like near the storage shed or meeting spot. Having a clear role plan builds trust, reduces mistakes, and makes the work feel shared and fair. 👉 Check out the resources for a quick and simple template |
02. How Do Records Help You Plan Better?
Record keeping is a simple but powerful way to make farming decisions and help keep your farm on track to ensure success
Why keep records?
- To understand what helps your crops grow well
- To catch problems early (like poor water flow or bad seeds)
- To plan better for the next season
- To set the right prices in the market
- To make better income over time
What should you record?
- Germination rate – How many seeds actually sprouted?
👉🏾 Count seeds planted vs. seedlings that sprouted. Ex: 10 planted, 7 sprouted
in tray
👉🏾 Or Give each bed a name/number. After germination note “Good”
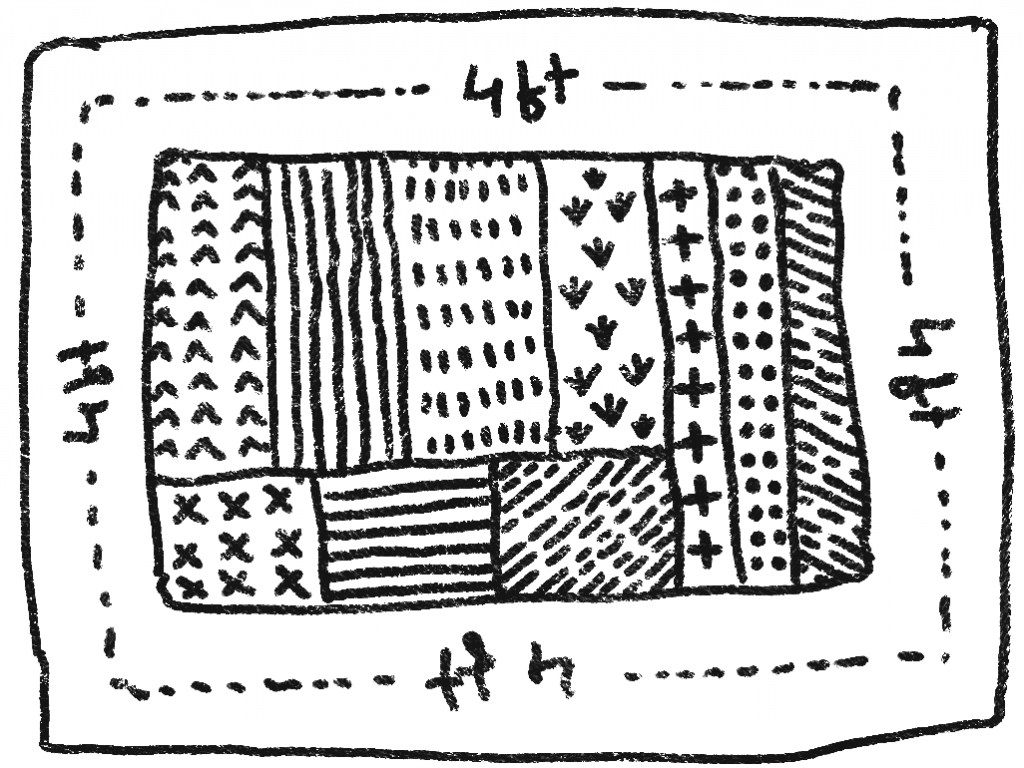
“Average” or “Poor” - Soil response – Which crop grew well in which bed?
👉🏾 Give each bed a name/number. After harvest, note “Good,” “Average,” or
“Poor” plant growth. Ex: Bed A: Average, Bed B: Good
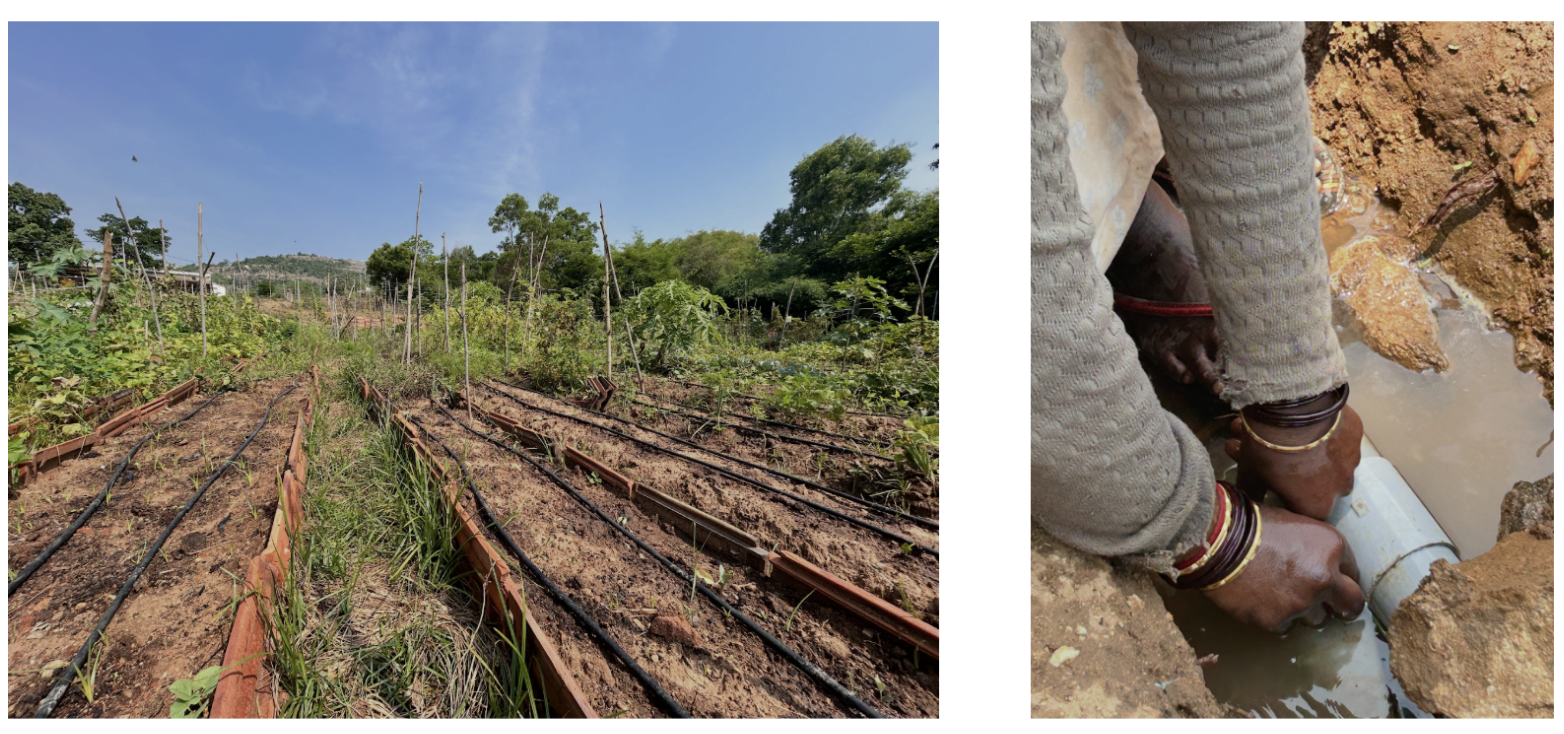
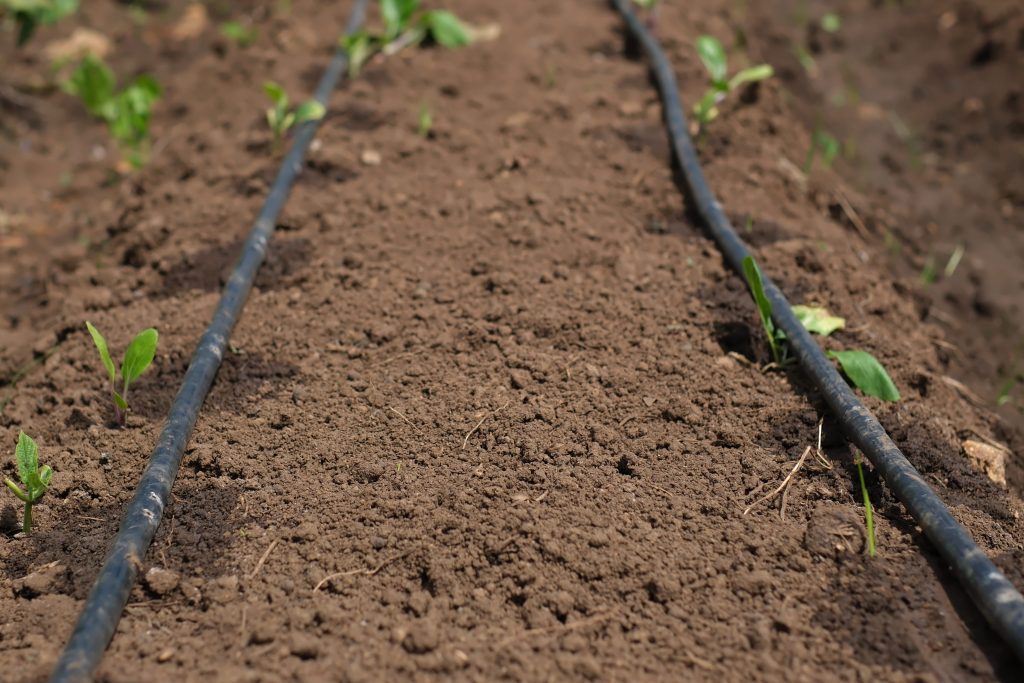
- Drip irrigation – Is the water flowing well? Any blocks or leaks?
👉🏾 Walk along pipes. Note any leak, block, or no flow next to the pipe or
valve number. Ex: Leak in bed 2
- Yield tracking – How much harvest came from each bed?
👉🏾 Weigh harvested produce from each bed. Write date, bed name, and
weigh in kg. Ex: 5 July, Bed A, 12 kg

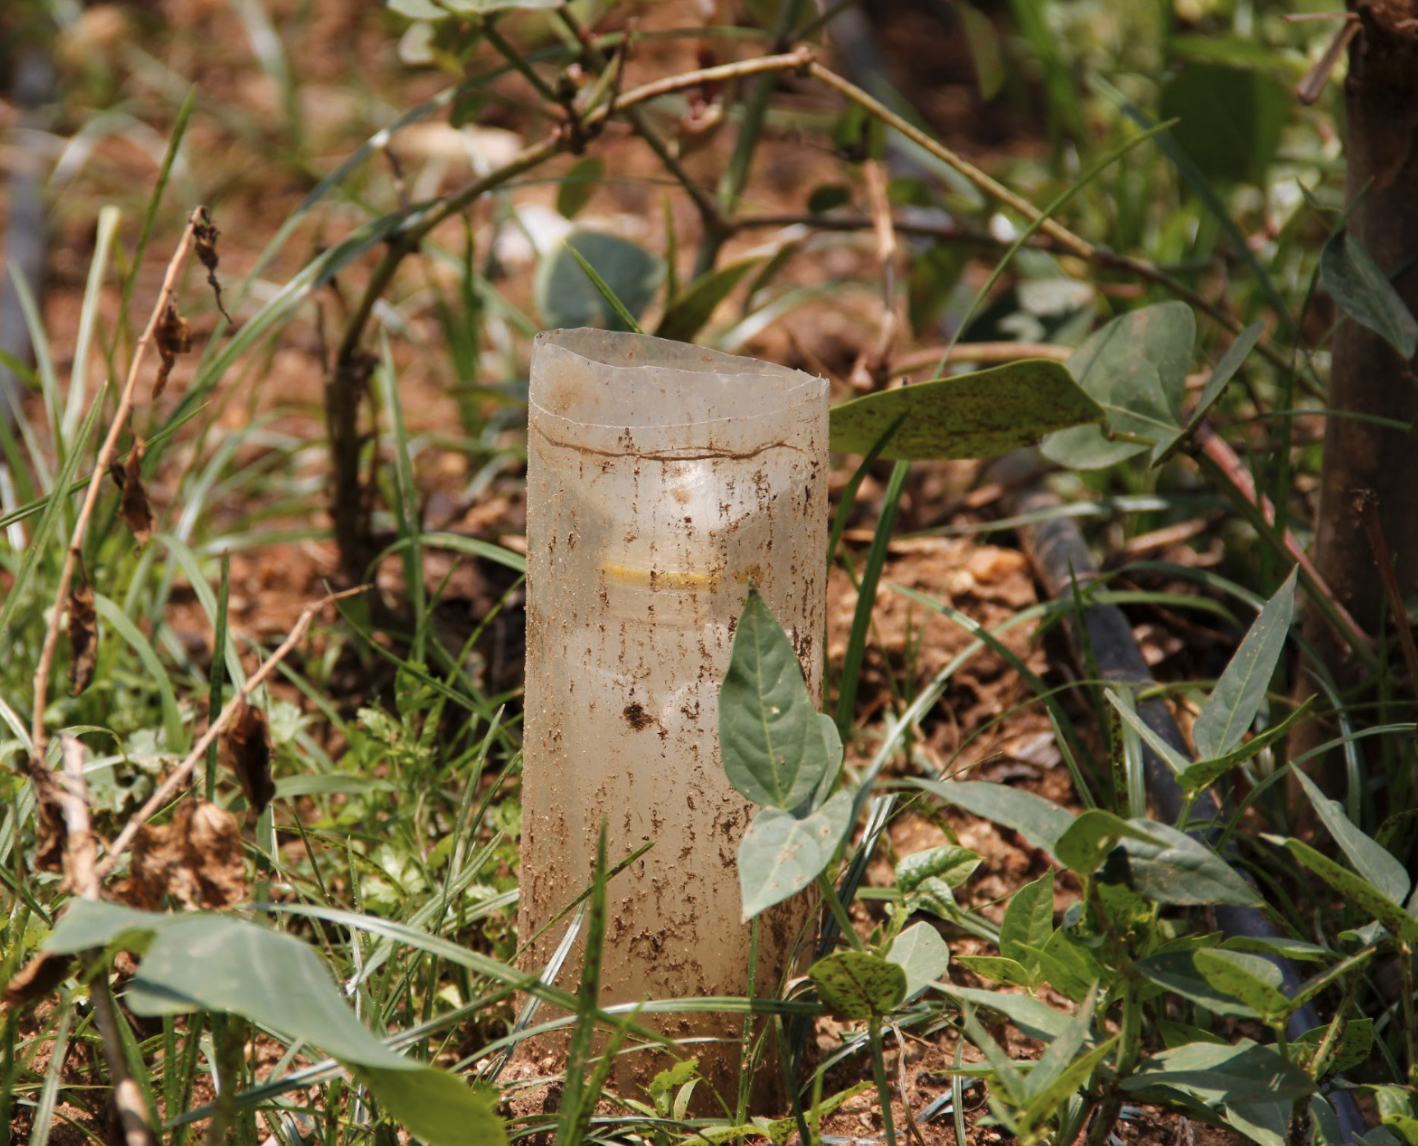
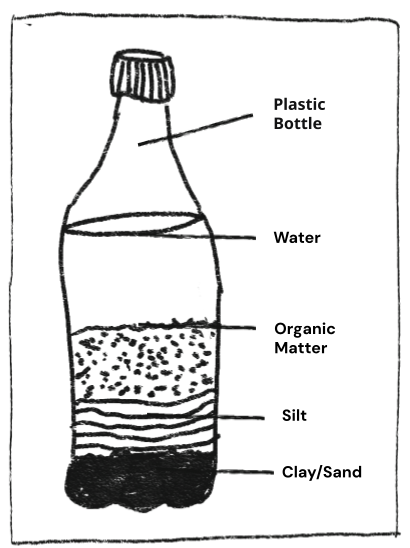
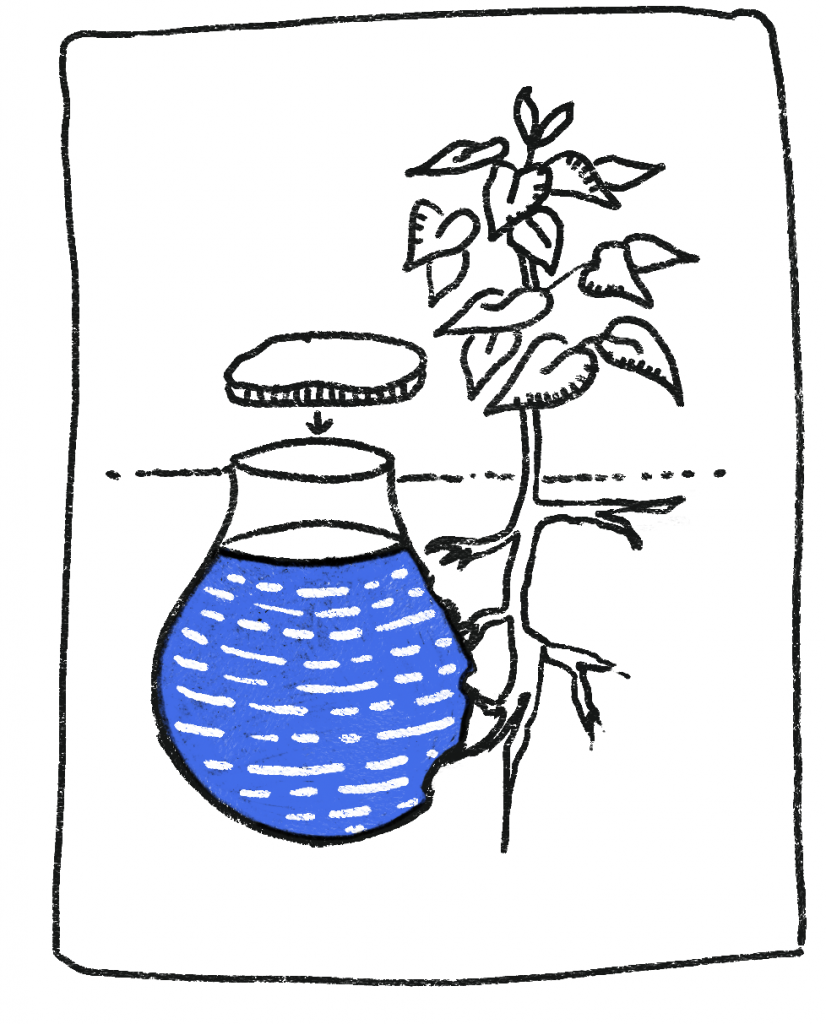
- Rainfall– How much rain did your farm get?
👉🏾 Cut the top off a plastic bottle to create a funnel and place it into the
bottom half. Mark 1 cm increments on the side of the lower half, leave it
outside, and read the water level to measure rainfall.
How to Use Your Records?
- Review Monthly: Look back at your notes to see trends (e.g., which beds need more compost).
- Compare Seasons: Check last year’s data to plan better this year.
Plan Your Resources: Use yield and soil records to decide on seeds, compost, and labor needs for the next crop cycle.
03. How Do We Manage Money as a
Collective?
To keep your Kai Thota collective strong, you need to plan how much money is coming in, how much is going out, and how to set a fair price for what you grow.
It doesn’t matter whether you’re selling through CSA, at the santhe, or both. What matters is knowing your basic costs, valuing your time spent in daily activities , and making sure everyone in the group earns a fair share.
Step 1: Know Your Costs
Split your expenses into two parts:
A. One-Time Setup Costs: These are things you buy once at the beginning:
| Item | Approx. Cost |
|---|---|
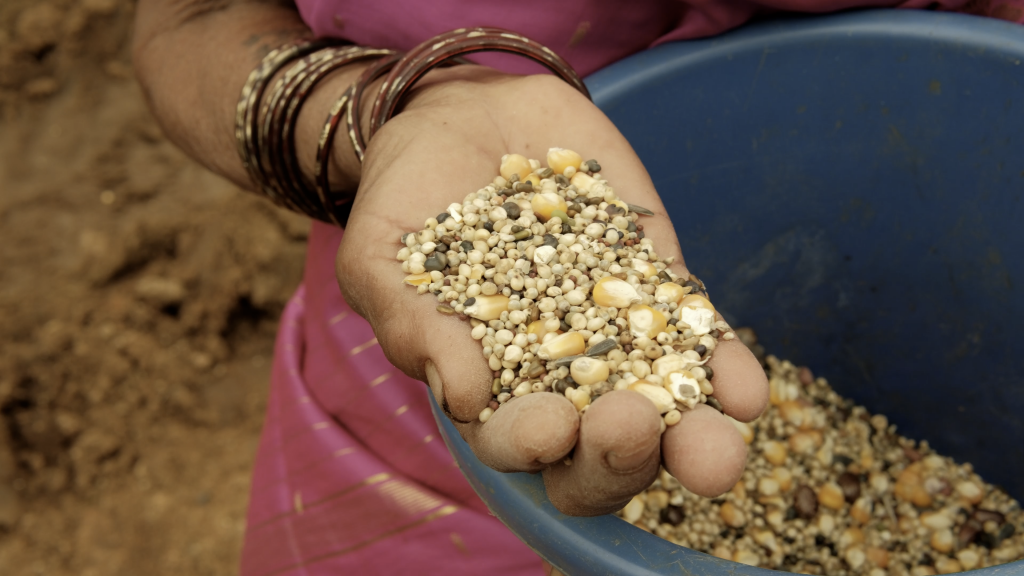
| Seeds | Based on the season or ⭐ Collect seeds from local households or find nearest seed banks to source local/heirloom seeds |
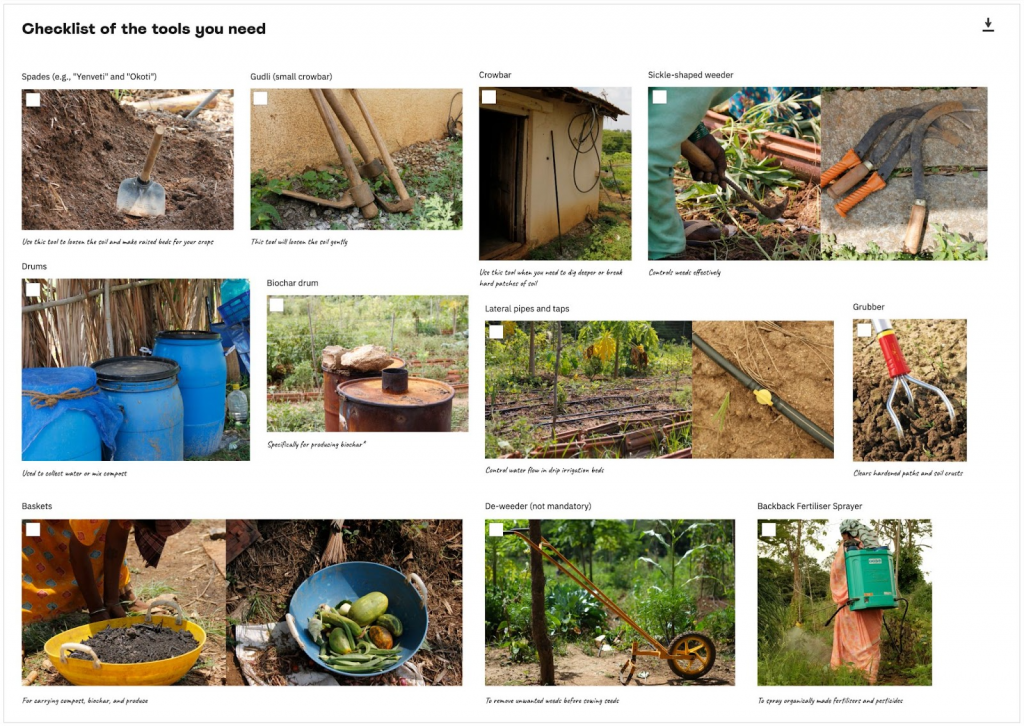
| Tools (weeders, cutters, seeders) | ₹2,000–₹3,000 per Kai Thota |
| Composting setup (drums, bins) | ₹500–₹1,000 |
| Water pipes or basic irrigation | ₹1,000–₹1,500 |
| Shelter, fencing, shade net (if needed) | Can vary – check MGNREGA support |
| 💡 Tip |
| Use government schemes and subsidies like MGNREGA or NRLM to cover fencing, water pits or tool support where possible. |
B. Monthly Running Costs: These are ongoing costs that happen every month or season:
| Expense | Notes |
|---|---|
| Liquid inputs (like Jeevamrutha/ Compost/Manure/Bio Enzymes/Liquid Manures/Specialised Sprays or Inoculants) | Made regularly on-site |
| Seeds and saplingsTrellis materials | Depends on the season and plan |
| Transport to drop-off or market | Shared auto or vehicle |
| Bags and packaging | Use cloth or reused paper bags |
| Small tool repairs | Sharpening, oil, minor fixes |
| Labour/Salaries | Based on time and skills contributed by the group members |
| 💡Tip |
| Use government schemes and subsidies like MGNREGA or NRLM to cover fencing, water pits, or tool support where possible. |
Step 2: Share Costs and Income Fairly
For the first 2–3 months, your group will mostly be investing—setting up the farm, preparing beds, buying inputs, and sowing seeds. This phase takes time and money, but it’s the foundation for what comes next.
After this, once your crops begin to grow and you start harvesting, you’ll also start earning.
The Kai Thota collective uses a time-based model to share income—something your group can adopt too.
- Everyone logs the hours they work in a notebook
- Income at the end of the month is divided based on hours worked
- If income is low, the group may save it or share smaller amounts until it builds up or speak to subscribers or local government for more support.
This means that:
- Everyone’s time is valued, whether you are sowing, weeding, or harvesting.
- Even if someone works only 10 days a month (due to their own land work, or work at), they are still paid for the time they contribute
| 💡 Tip |
| Some groups also set a minimum earning goal per member (₹2,000–₹3,000/month) and plan backwards from there. 📌 Example Calculation: – 10 subscribers paying ₹500/month = ₹5,000 total – Expenses (transport, inputs): ₹2,000 – Remaining ₹3,000 shared between 3 members = ₹1,000 each – Add subscribers, adjust pricing, or reduce costs to grow income over time |
Step 3: Review, Adjust, Repeat
Once you’ve completed a season of farming, pause and reflect:
- How did each bed perform?
- What was the quality of each produce?
- What was your total yield vs. expectation?
- Did your pricing match your effort? Were prices fair?
- Did you spend more or less than planned?
Based on this, adjust crop choices, pricing, or delivery. Keep discussions transparent with group members and subscribers.
Remember “Start Small, Grow Steady” : You don’t need big systems or spreadsheets. What matters is:
- Keeping records that everyone can understand
- Talking openly about income and work
- Planning as a group—every season, every month


