A good harvest depends on what happens at every stage — from sowing seeds with care, to supporting plants as they grow, to harvesting at the right time. In this chapter, you’ll learn how each step can make your crops stronger and more productive.
01. How to Plan Your Crops?
Good crop planning helps you get the most from your land all year round. It is something you need to think about and plan for throughout the year, based on the changing needs of your market as well as the health of your soil and farm.
You need to plan your sowing and harvest cycles in a way that allows you to produce regularly without long breaks. You can do this in a number of ways:
A. Crop Rotation:
Think of planting crops with different growth cycles so you can harvest different beds at different times of the year. This helps the soil stay healthy, reduces pests, and gives you different crops at different times.
For example:
- You can grow tomatoes in one bed.
- At the same time, you can grow papaya or other greens in another.
- After harvesting tomatoes, you can grow legumes like moong or chana in the same bed to add natural nitrogen to the soil.
Here’s why crop rotation is important:
- It gives the soil a break — different crops take different nutrients, so the soil doesn’t get tired.
- It controls pests — bugs that love one crop won’t find the next one so easily.
It allows you to grow crops for different needs — home use, market sale, or improving soil. - It spreads your risk — if one crop fails, others can still grow.
Plan your beds in such a way that:
- Different crops are ready at different times of the year (weekly or monthly harvests)
- Crops that use fewer nutrients come after heavy-feeding crops
- Tall crops (like papaya) don’t block sunlight from short ones (like coriander)
This way, your land stays active, your soil stays healthy, and your harvest keeps coming throughout the year.
B. Companion Planting:
You can also think of companion planting! Some plants grow better when they are planted next to certain other plants. This is called companion planting.It helps in two ways:
- Some plants protect each other from pests (like insects).
- Others help the soil by adding natural nutrients.
Farmers use a mix of:
- Traditional knowledge (what elders have always done)
- Permaculture ideas (working with nature)
- And biodynamic methods (looking at plant energy and soil life)
This helps them decide which plants should share a bed and grow together as good companions — For example growing onions and carrots together can help prevent certain pests like root fly.
Companion Planting also allows you to save space and make the most of all the effort you are putting into maintaining your farm.
02. How To Sow Your Seeds for a Healthy
Harvest?
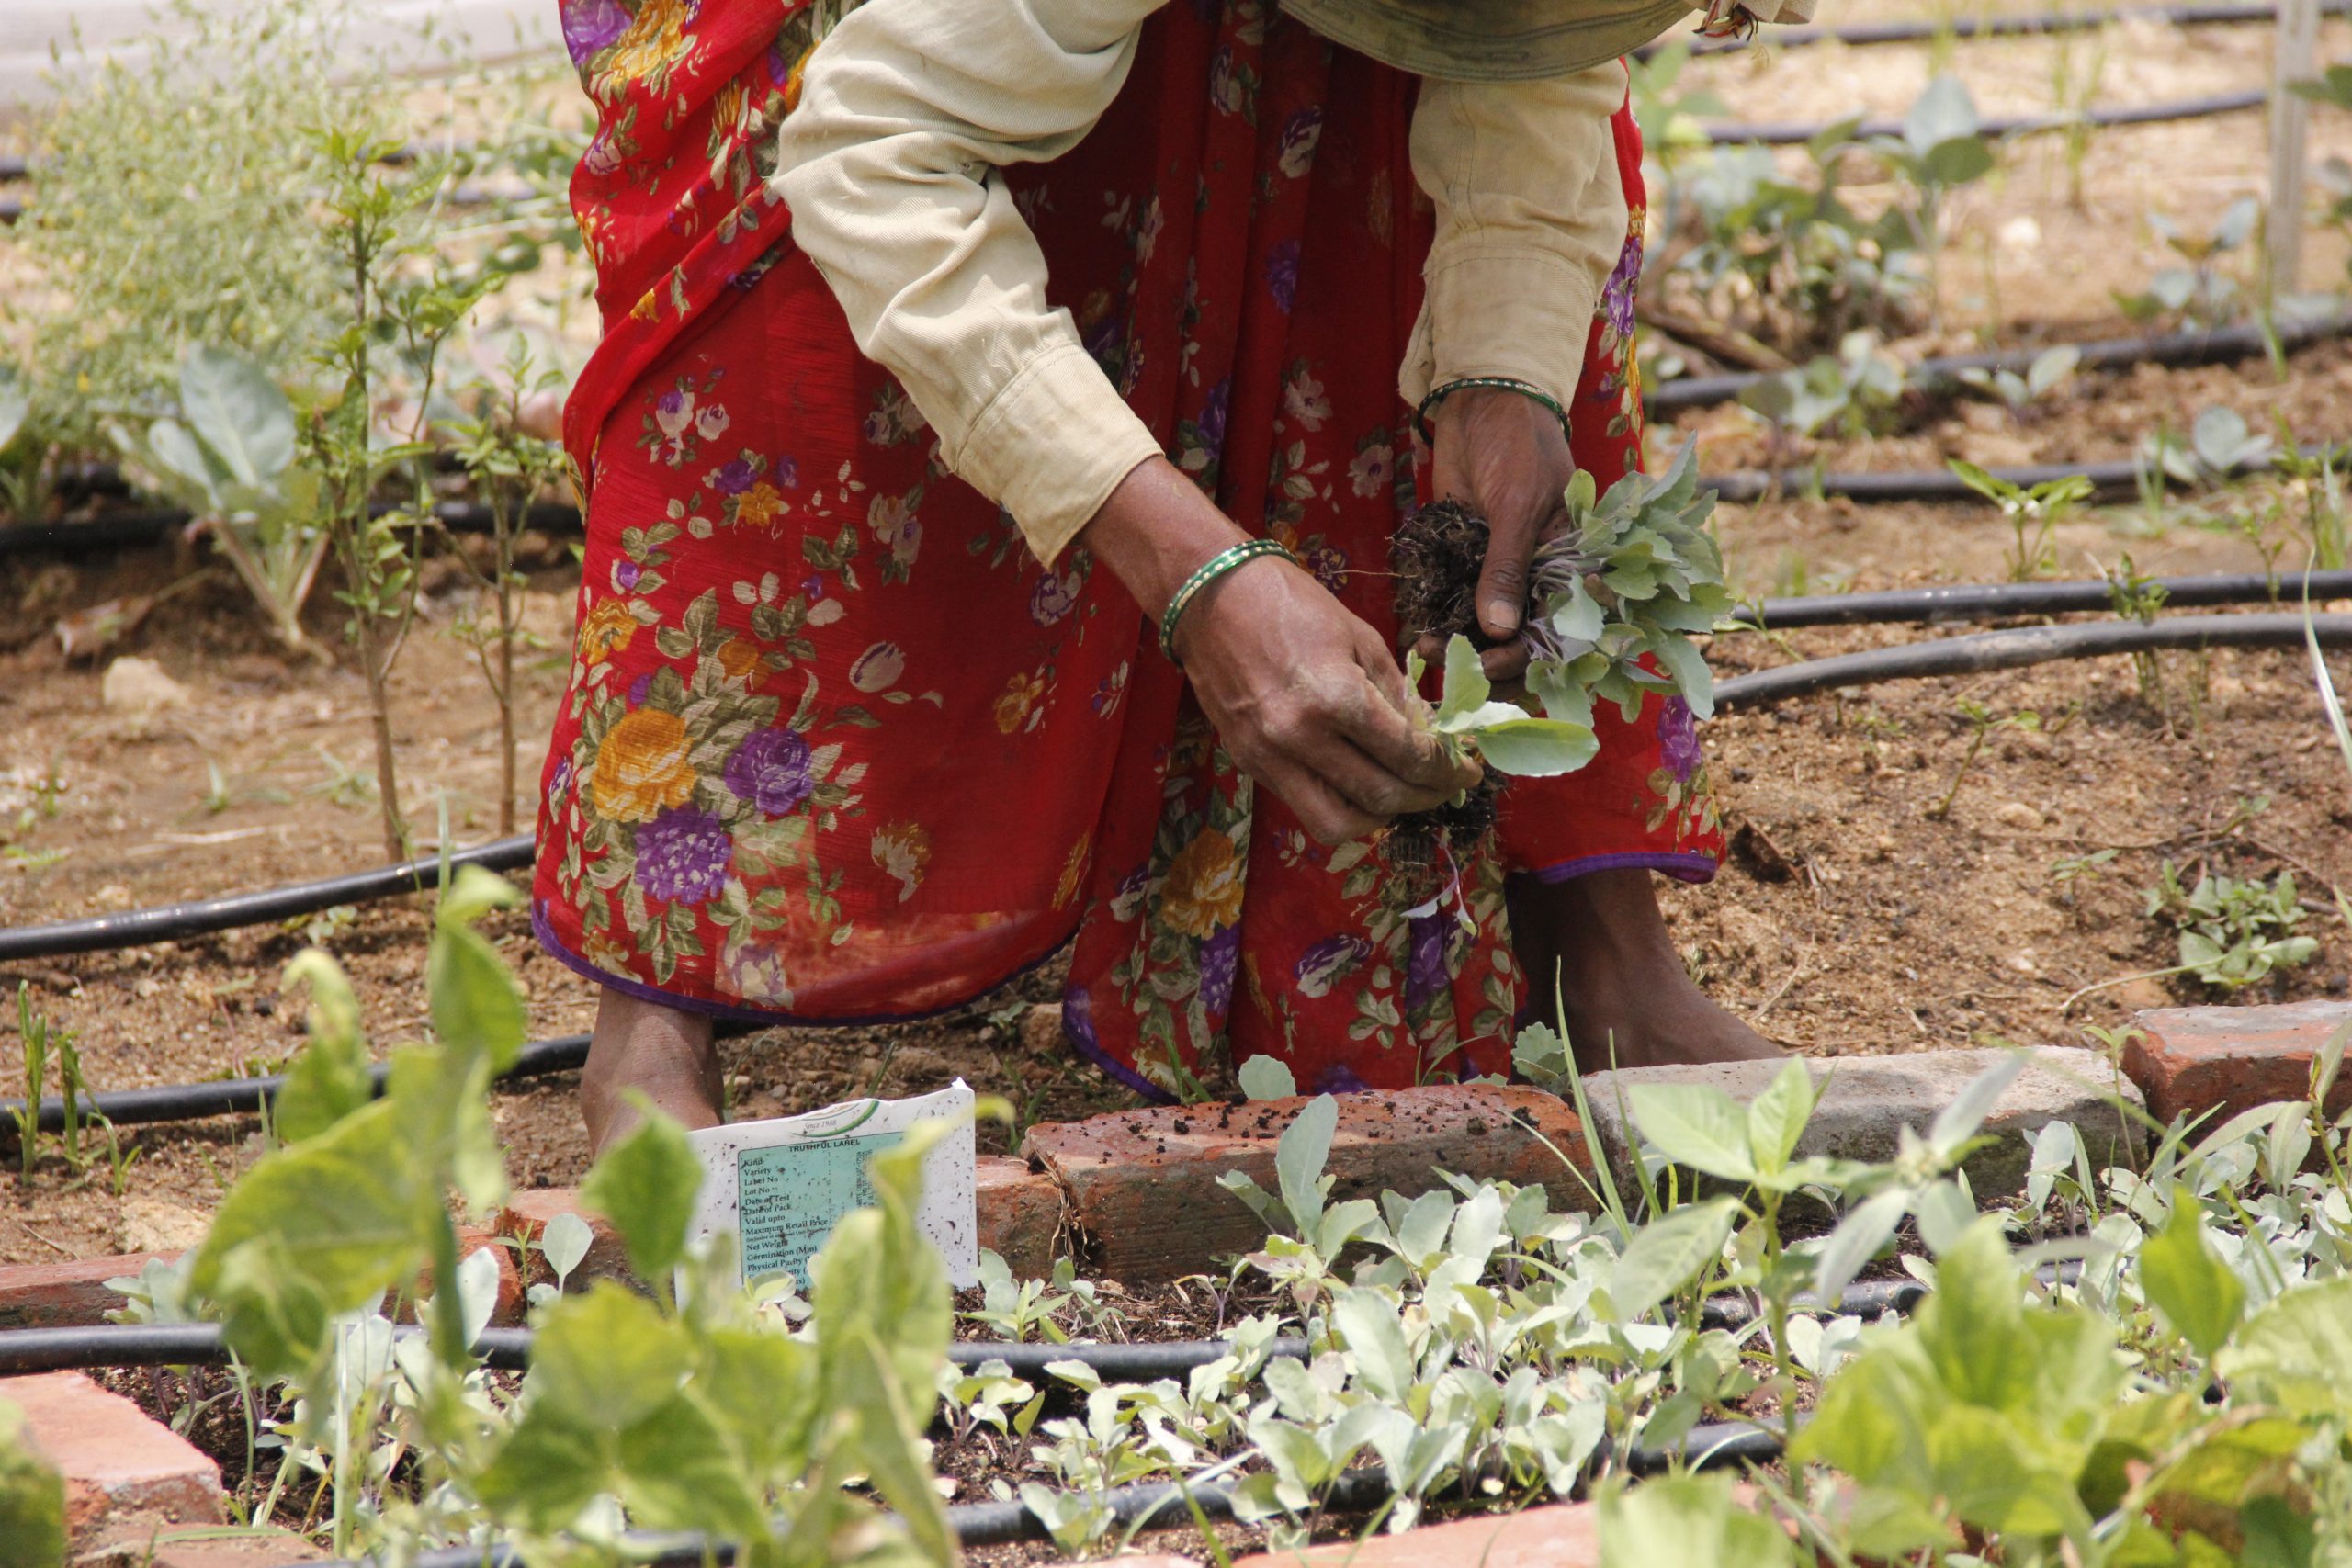
Sowing seeds the right way is very important, especially for root vegetables like carrots, beetroot, and radish. If seeds are sown too close together, the plants do not get enough space to grow. This means:
- The roots stay small
- The plants compete for sunlight and air
- The final harvest is poor
But don’t worry — with a few simple steps, you can sow better and get a healthier crop!
What Are Some Easy Ways to Sow Your Seeds?
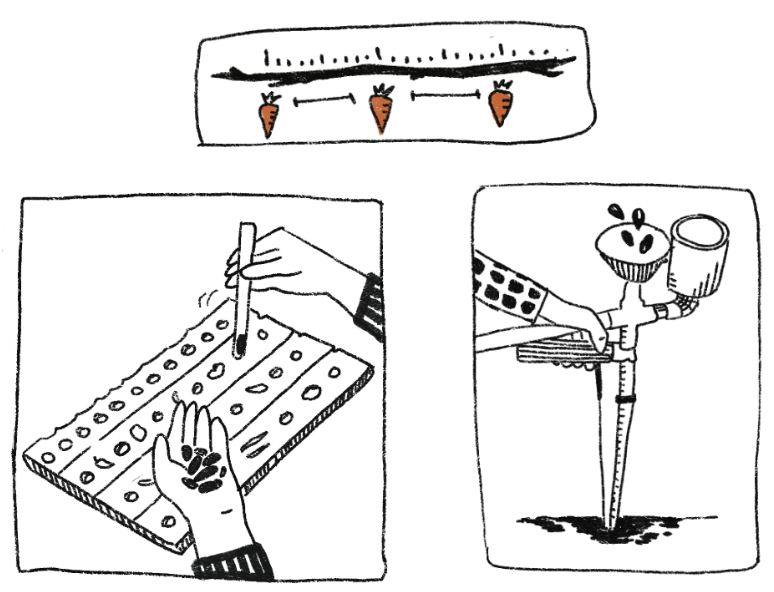
- Use Simple Tools-
For small seeds like carrots, it is hard to sow them evenly by hand.You can use PVC pipe seders or other basic tools to help drop one seed at a time. This saves seeds and avoids overcrowding. - Maintain the right spacing –
Each plant needs sunlight, air, and space to grow properly. Too many seeds in one place means crowded plants, which in turn means a weak harvest.
You could use a simple homemade device like a spacing stick or twig marked with distances to help you plant with correct gaps.
Here are a few examples:
- Carrot: Keep about 5–7 cm gap between each seed
- Brinjal (eggplant): Needs at least 12 cm between each plant
- Tomato: A bushy plant, needs more space — around 45–60 cm
- Chilli: A tall plant, can be sown closer — about 20–30 cm apart
| 💡 Tip |
| For large areas, use sowing boards or string lines to maintain rows neatly and save time! |
03. How Do You Support Plants During Growth?
Once your plants start growing, your main job is to support their healthy growth and protect the soil. This phase is all about making sure your crops are not crowded, dry, or disturbed by weeds or pests.
Here are three key things to take care of during the growth phase:
Support and Trimming– Helping Plants Stand Tall
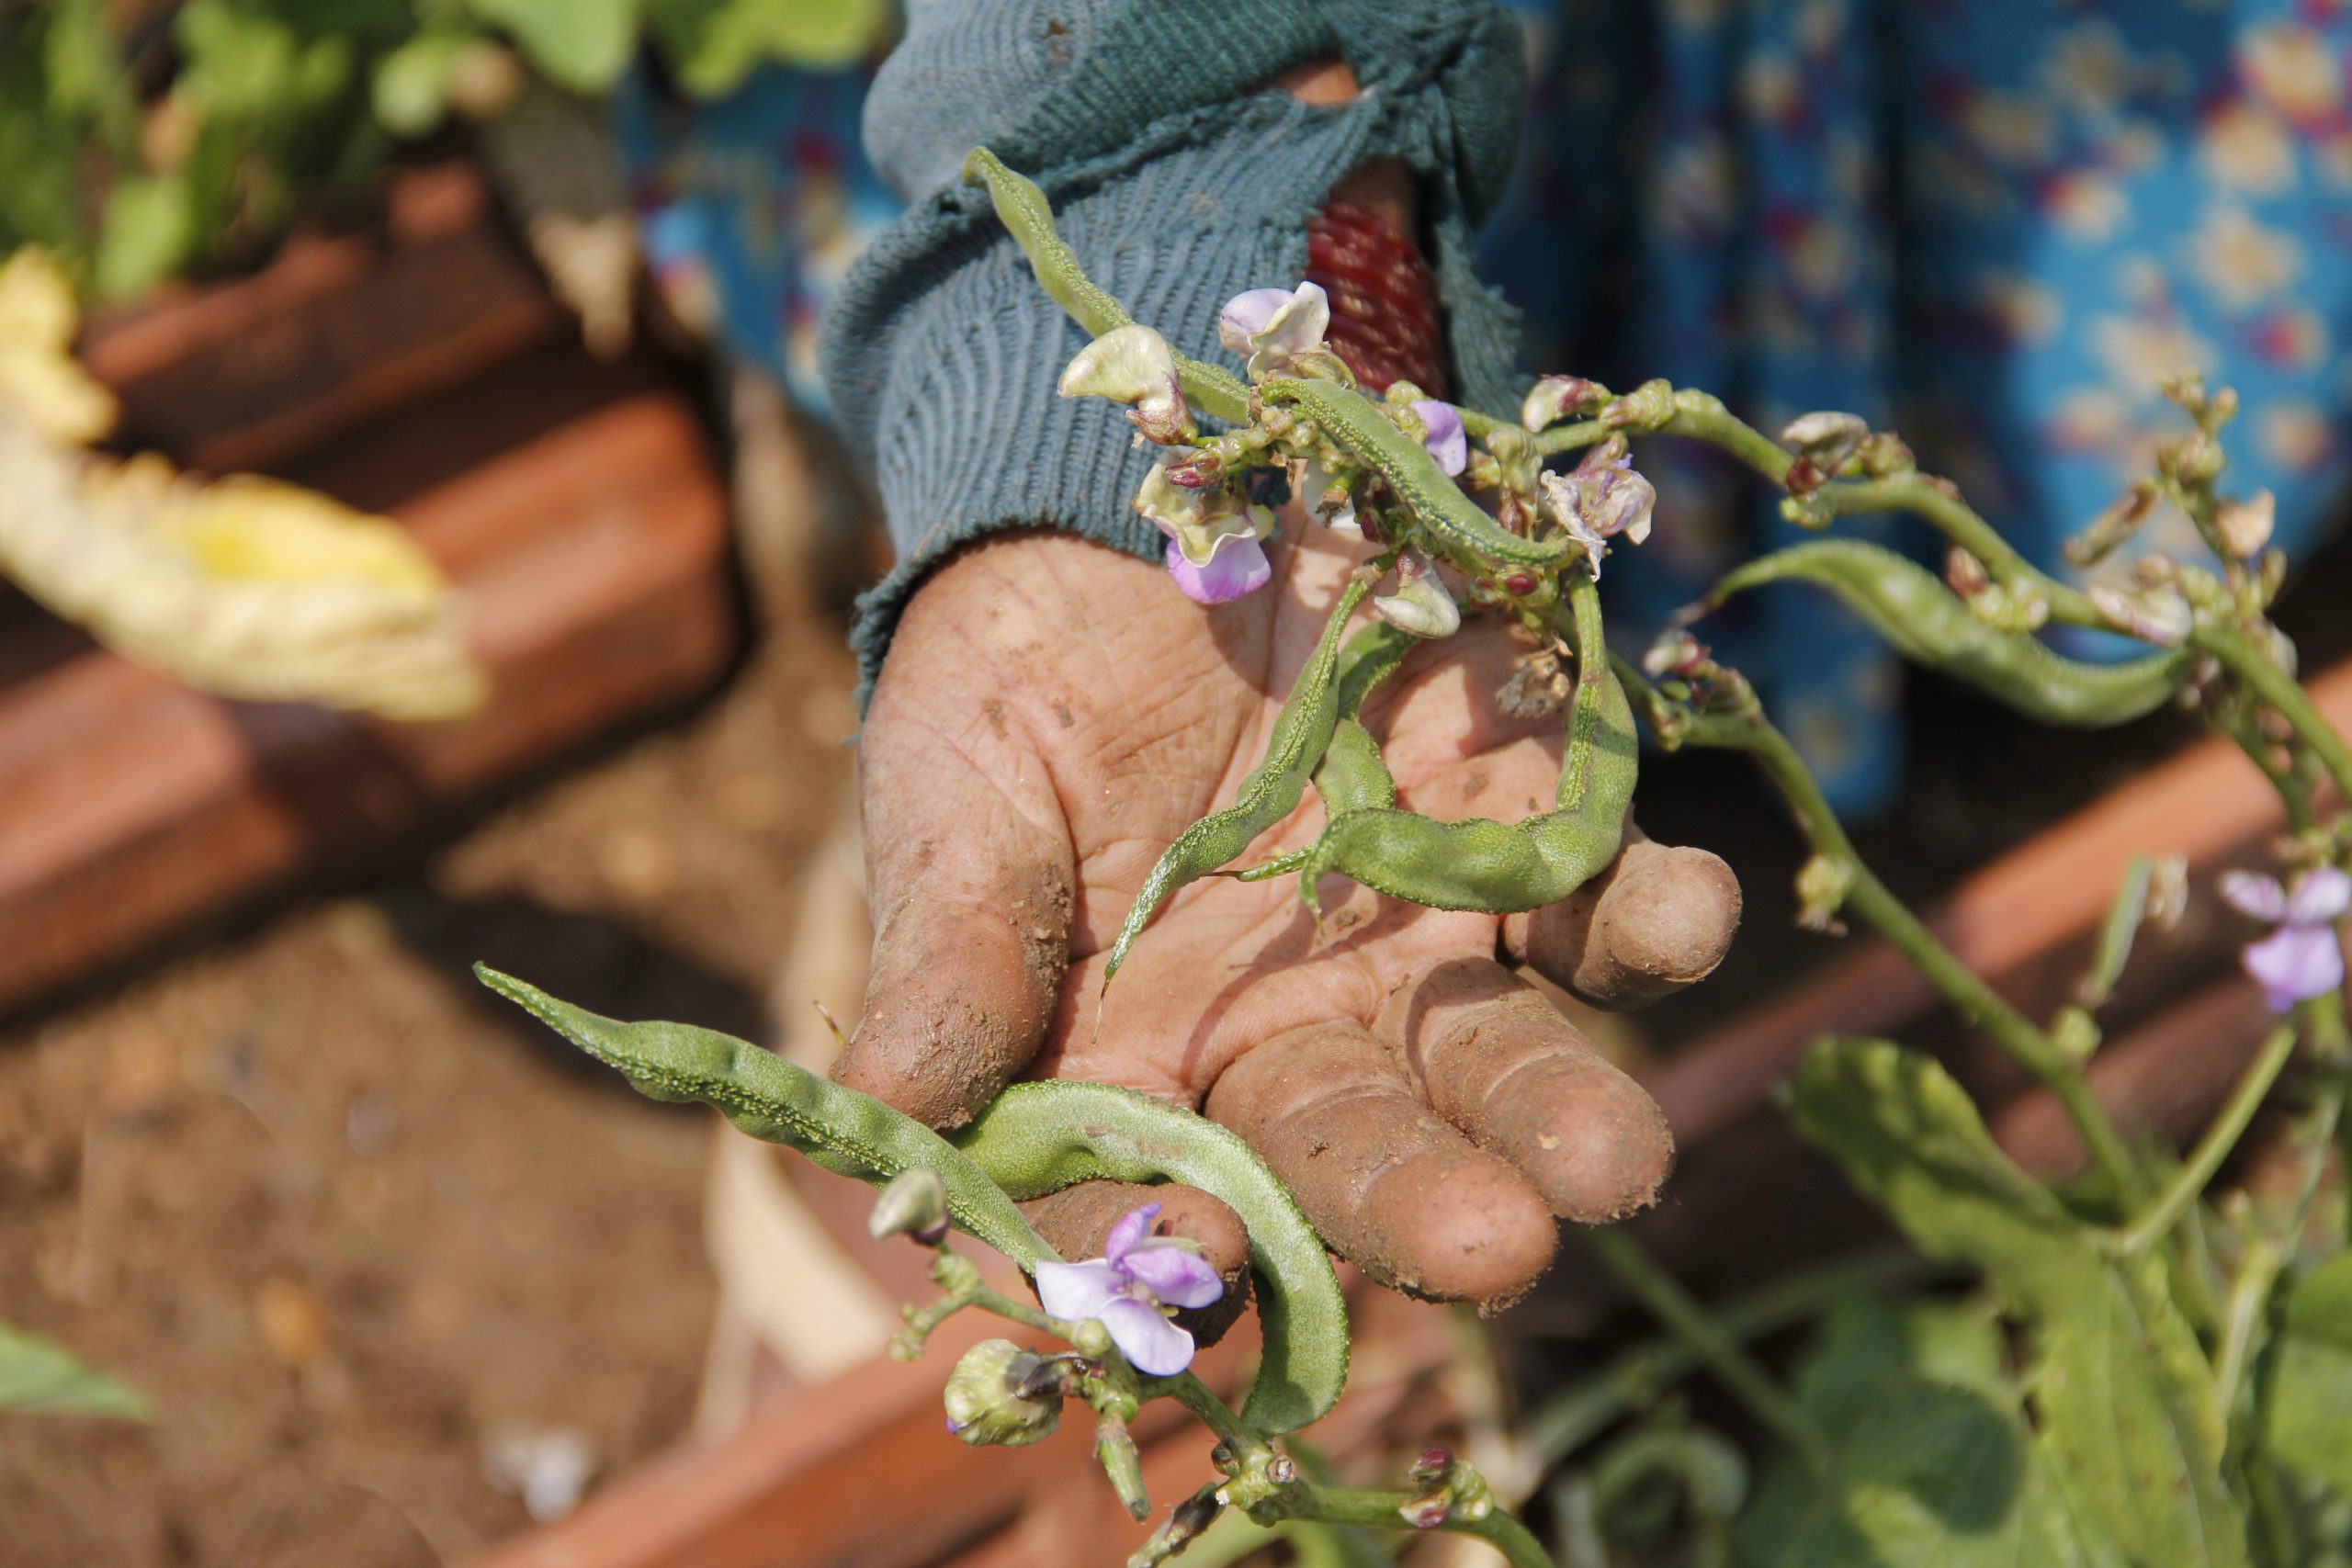
Support Systems – Some crops like tomato, chilli, and beans are climbers or creepers. These plants need support to grow straight and strong.
You can use:
- Bamboo sticks to hold up the main stem
- Jute ropes tied to nearby poles or trees
- Trellises (a wooden or bamboo frame) for plants to climb on
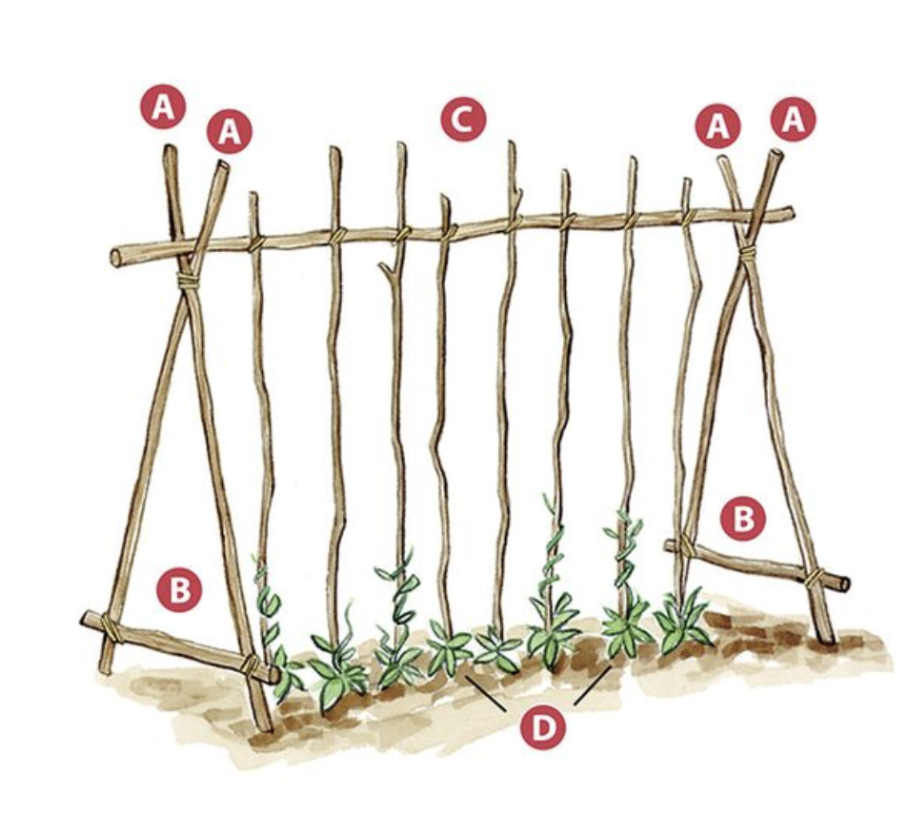

Trimming– Cut off extra leaves and side branches to help the plant focus its energy on growing fruits. This makes the plant healthier and improves yield.
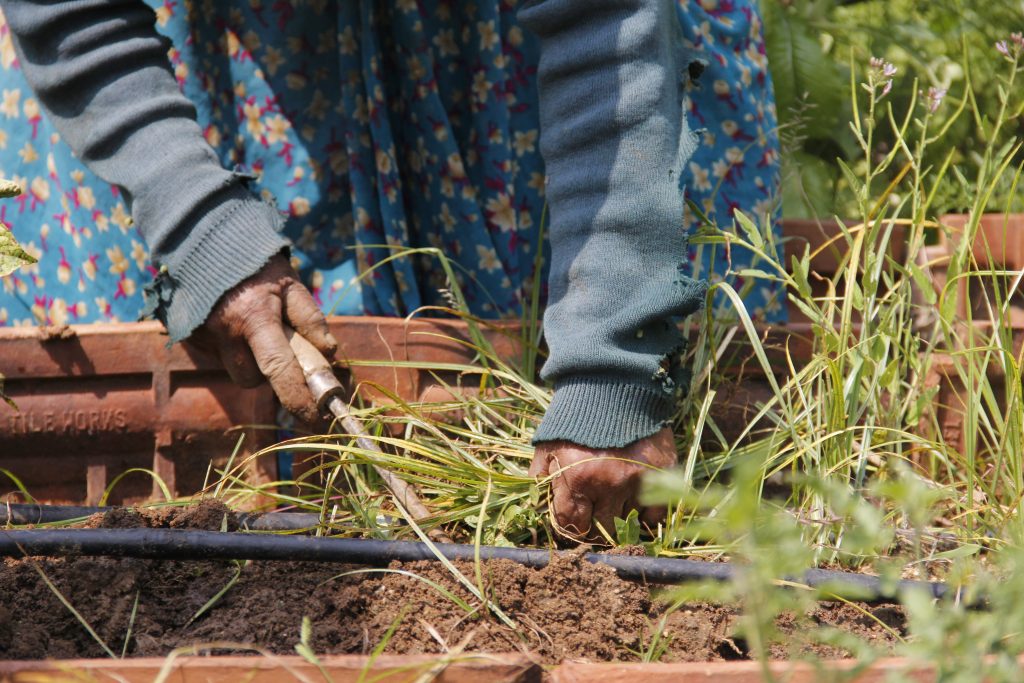
Weed Management – Turning Weeds into Food
Weeds are plants that grow where you don’t want them — in between your crops, near the beds, or along the borders. If not removed in time, weeds can:
- Take away water, sunlight, and nutrients from your crops
- Make the farm look untidy and harder to manage
- Attract pests and insects
That’s why it’s important to regularly remove weeds and to assign members to do the same.
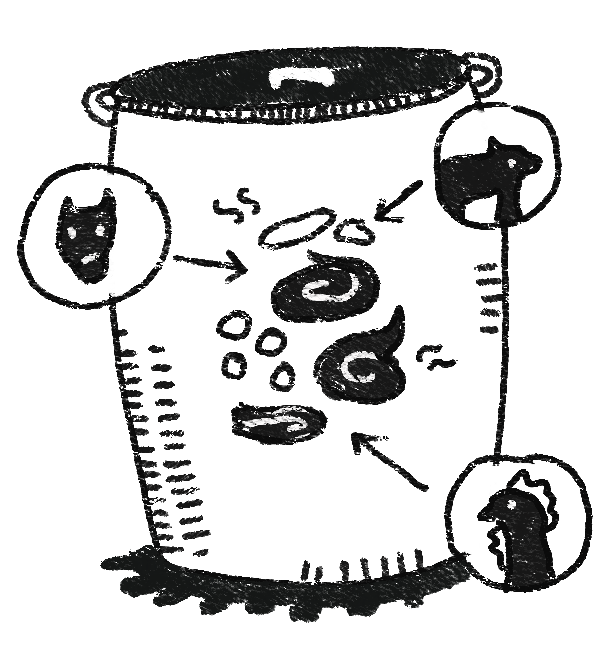
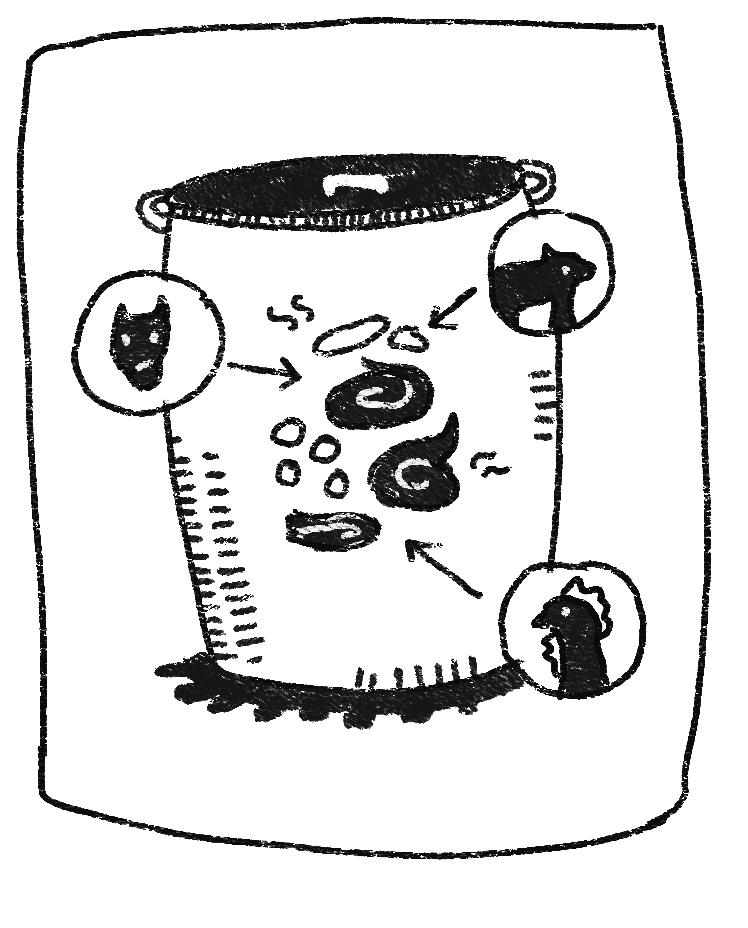
However, not all weeds are bad. Some soft green weeds can be reused to make fermented weed tea, a homemade liquid manure and pour it near the plant roots or mix it into drip irrigation. This feeds the plants and avoids wasting weeds.
👉🏾 Fermented Tea Recipe can be found in the Resource section.

“We separate the weeds, ferment them, and give them back to the soil. They feed on the next cycle.”
____
Geetha
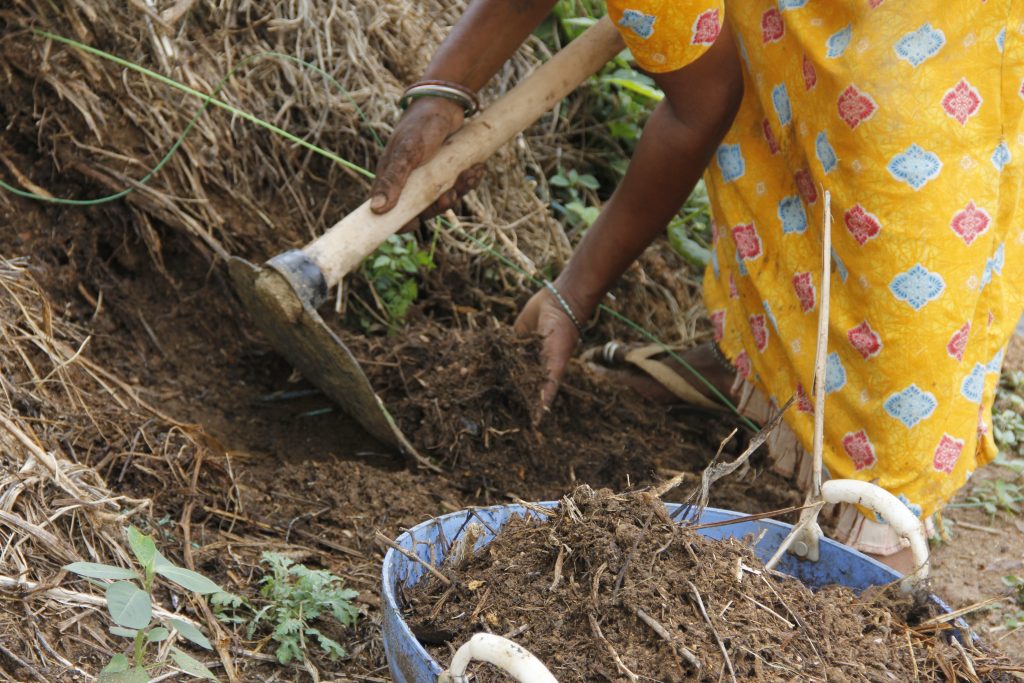
Mulching – Protecting the Soil from Heat and Dryness
Mulching is a great way to improve soil fertility and protect it over time. It helps the soil stay moist, cool, and full of nutrients—especially during hot weather, when the sun dries out the land quickly.
We recommend trying mulching during the hot summer months, like April and May, when protecting your soil is most important.
👉🏾 You can find out more about the process by following the recipe card in the resource section or in the next post
04. How Do You Harvest at the Right Time?
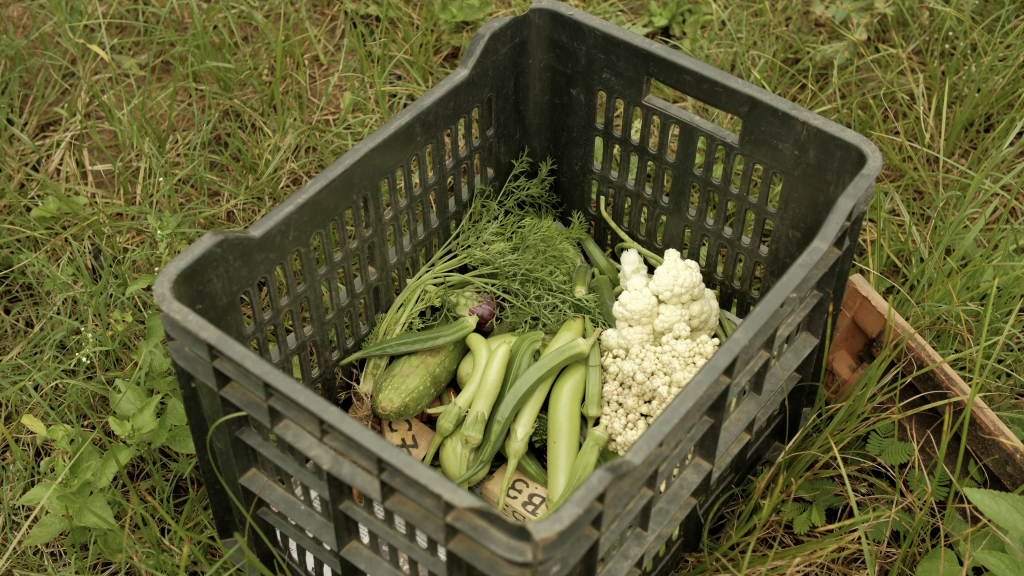
Harvesting doesn’t just mean picking vegetables. It means picking them at the right time and in the right way.
Here’s what to look for:
- Match Your Harvest with Demand – Think about who you are harvesting for:
- Is it for your family or community?
- Is it for weekly markets or a group of subscribers? If your market picks up vegetables every Friday, plan your harvest accordingly.

“Harvest planning should match your needs. If your demand is weekly, your harvest should be weekly too.”
____
Vishala
- Crop Cycle – Every crop takes a certain number of days to grow and ripen. Keep track of planting days so you know when to check for harvest. For example:
- Some leafy greens are ready in 30 days
- Tomatoes may take 60–70 days
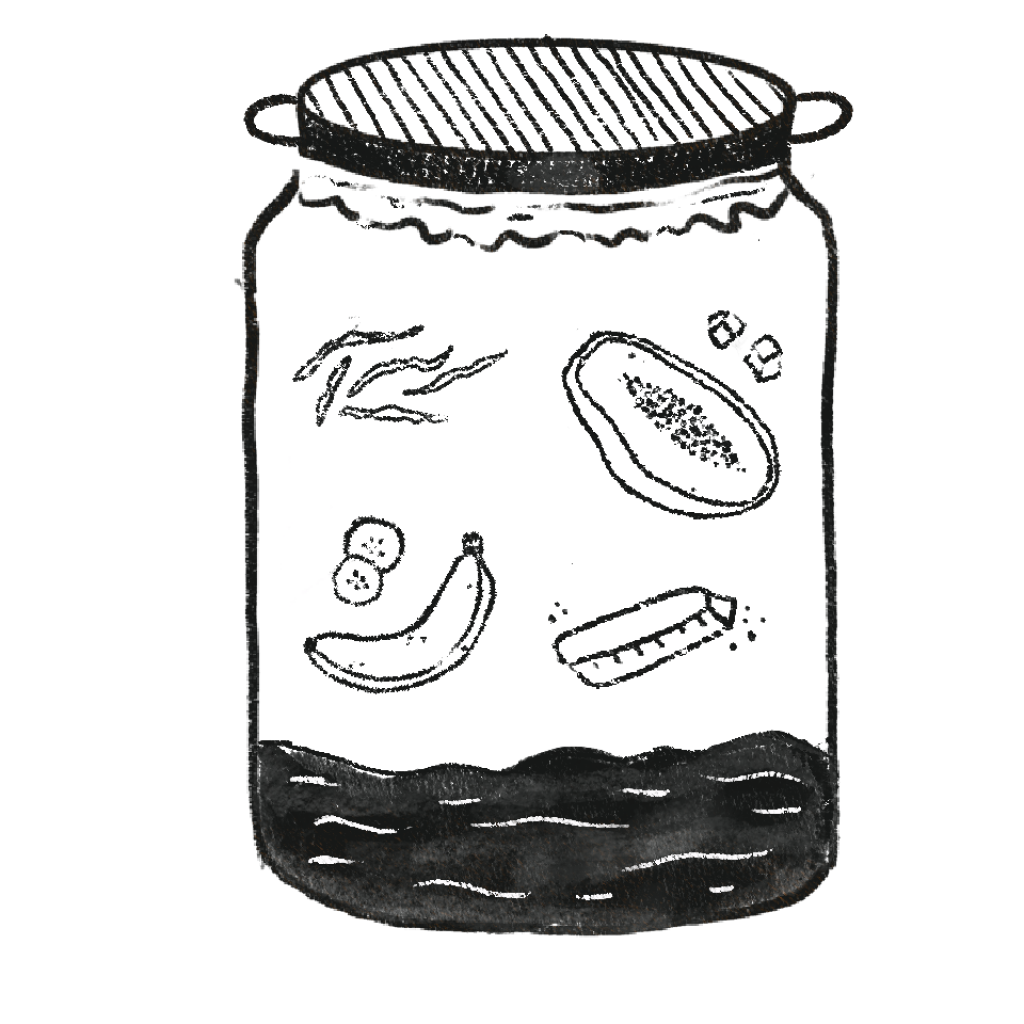
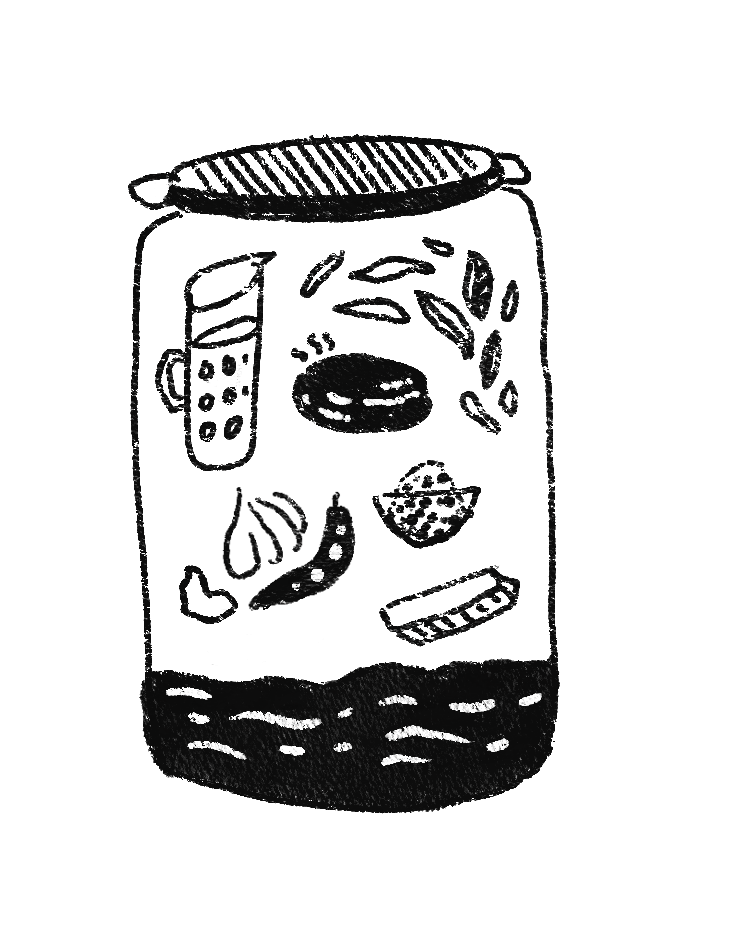
- Size and Colour: You can follow harvest charts to assess your crops better.

- Don’t Waste – Compost the Rest: If a vegetable is overripe or damaged— don’t throw it away! You can:
- Add it to your compost pit
- Use it to make fermented liquid manure for the soil
👉🏾You can find out more about the process by following the recipe card in the resource section or in the next chapter